- Lights, Camera, and Action: How to Film and Edit a Drum Cover - May 31, 2022
- The Best Wuhan Cymbals: A Comprehensive Buying Guide - May 30, 2022
- Alesis Surge vs Command Compared - April 26, 2022
To make a drum cover – and have it appeal to a large crowd – may sound easy at first glance. However, a lot is going on behind the scenes that you may not be aware of.
To make matters worse, some YouTube drummers can make the challenge of recording drum covers seem much easier than it is. That said, don’t let that thought derail you or your passion for drumming.
Sure, you may be very skilled at drumming and have the personality of a young Phil Collins, but do your videos truly capture the essence of your knowledge and prowess? If you are trying to break into this industry, you will need to have an upper hand on not only smashing it on the drums but also crafting pristine videos of yourself while doing it.
YouTube, being one of the most popular platforms for cover videos, can be a great place to start uploading your content. It supports multiple languages, video formats, and tools for engaging with your audience. Additionally, it can also double up as a platform for you to learn and develop new skills along the way.
Most drummers, if not all, will lean on drum covers in the early stages of their professional careers to mark their territory. Whether it’s for gaining followers or sharing your knowledge with the outside world, drum covers are a fun way of communicating with other music lovers.
That said, if you want your videos to look cool, be more impactful, and get viewers watching until the end, then you may need to develop some additional skills.
My Bottom Line Upfront
Preparing aesthetically pleasing and informative drum covers takes a precise combination of many skills. It’s a process that sees you evolve both as a drummer and videographer.
In addition to knowing how to impress your audience with eccentric grooves and upbeat dialogue, you will also need to have the basic know-how of setting up camera angles and editing your footage.
Popular Social Platforms for Uploading Drum Covers

YouTube, hands down, is the biggest video-sharing platform to date. When it comes to this video streaming platform, there is not a single niche that goes uncovered. However, musicians have found a haven within this giant to share their creations and engage with the community.
According to Statista, nearly 30,000 hours of footage is uploaded to YouTube every hour. So you might wonder, how am I going to get any exposure in this chaos? Well, thanks to YouTube’s intricately designed algorithm, videos that resonate with their viewers tend to get placed higher in the search results.
Closely trailing YouTube’s success are platforms like:
- Dailymotion
- Vimeo
- Tik Tok
Depending on the audience you are trying to target and the nature of your videos, you may want to expand to these platforms to boost your exposure. Except for Instagram and Tik Tok, which use a mobile-friendly resolution for videos, you can use the same footage from your YouTube channel to upload to other platforms safely.
Uploading Drum Covers on YouTube
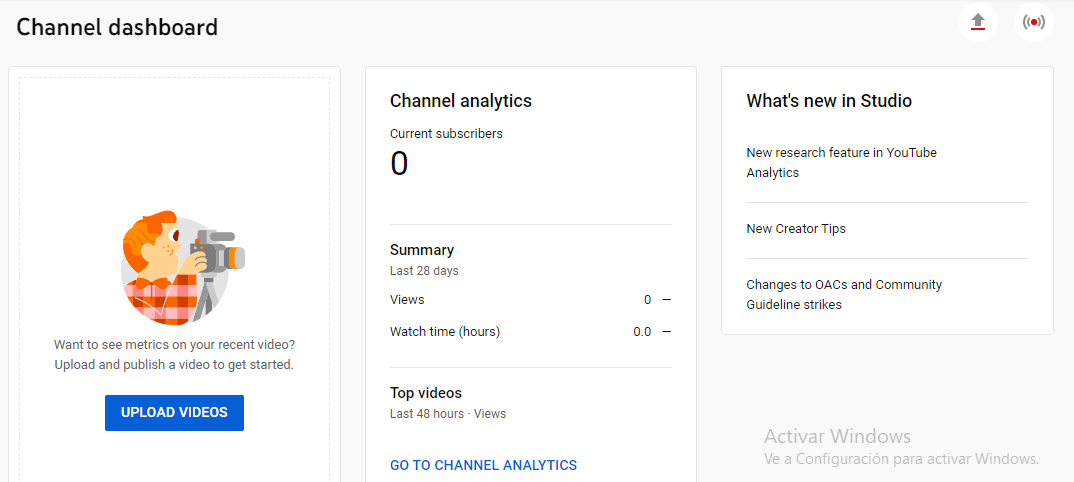
YouTube has some of the friendliest sets of tools to allow its creators to not only upload, but also do minor edits and changes to their videos before uploading. Whether you want to start a channel related to music, gaming, or pop culture, YouTube Studio makes it much easier to manage and upload videos.
The standard format for uploading cover videos to YouTube remains to be MP4 in 1920×1080 resolution. Nearly every video editor will offer export options in that range, but Adobe Premiere goes the extra mile and has set up many popular formats as their default export options. This means that you can expect to see an export option exclusively for YouTube when working with Adobe Premiere.
Apart from the video itself, YouTube also projects a lot of attention toward thumbnails. So while you are working on learning those video editing tricks, you might want to brush up on some basic photoshop skills, as well. If you are working with multiple camera angles and microphones, this is a must.
At the end of the day, your main challenge will be to mash up all the video footage and sync it with the recorded audio flawlessly. If you are recording your sound live, then your project might become overly complicated. This is because you will have to deal with too many audio and video sources at once.
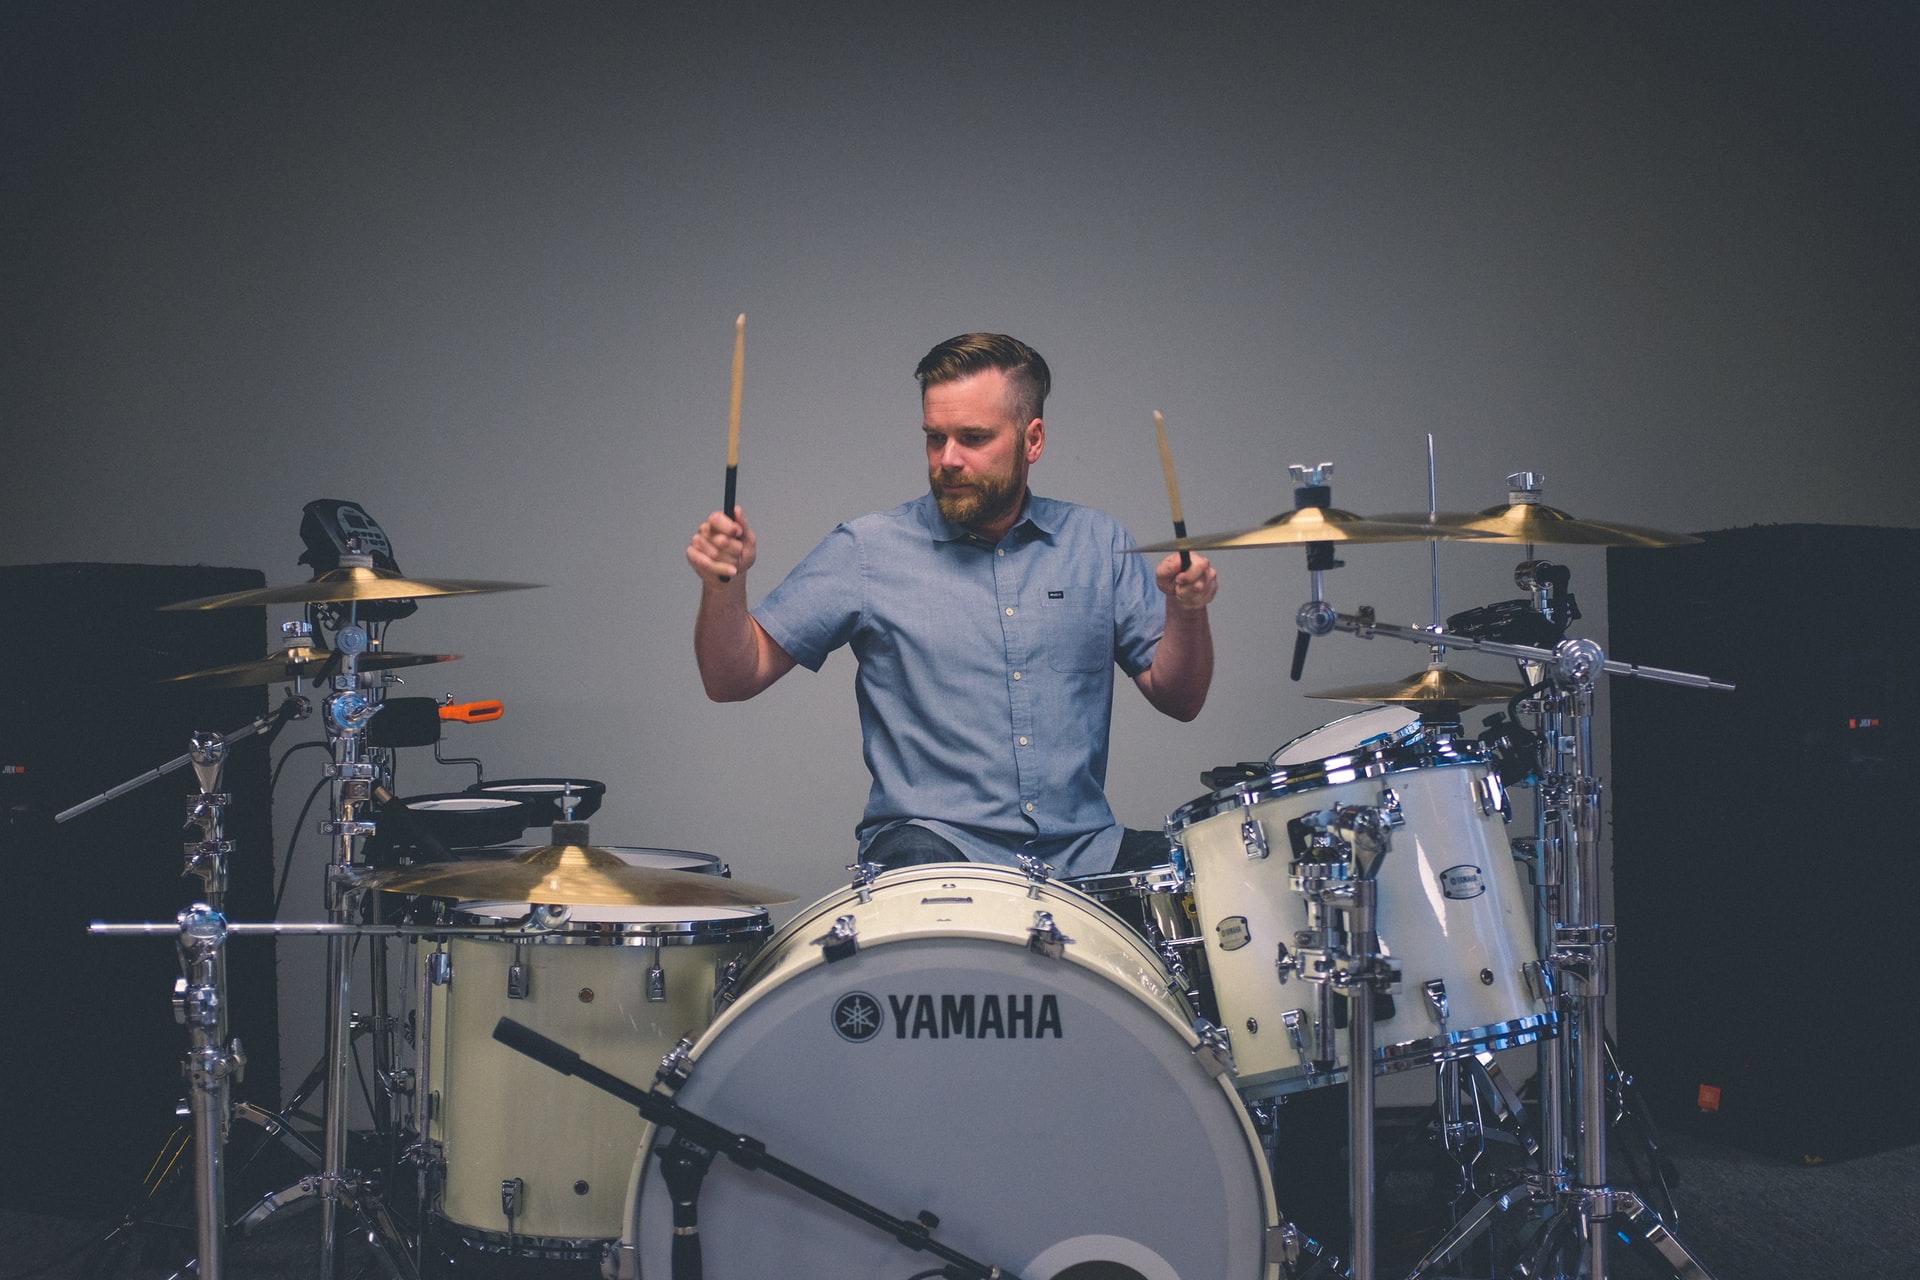
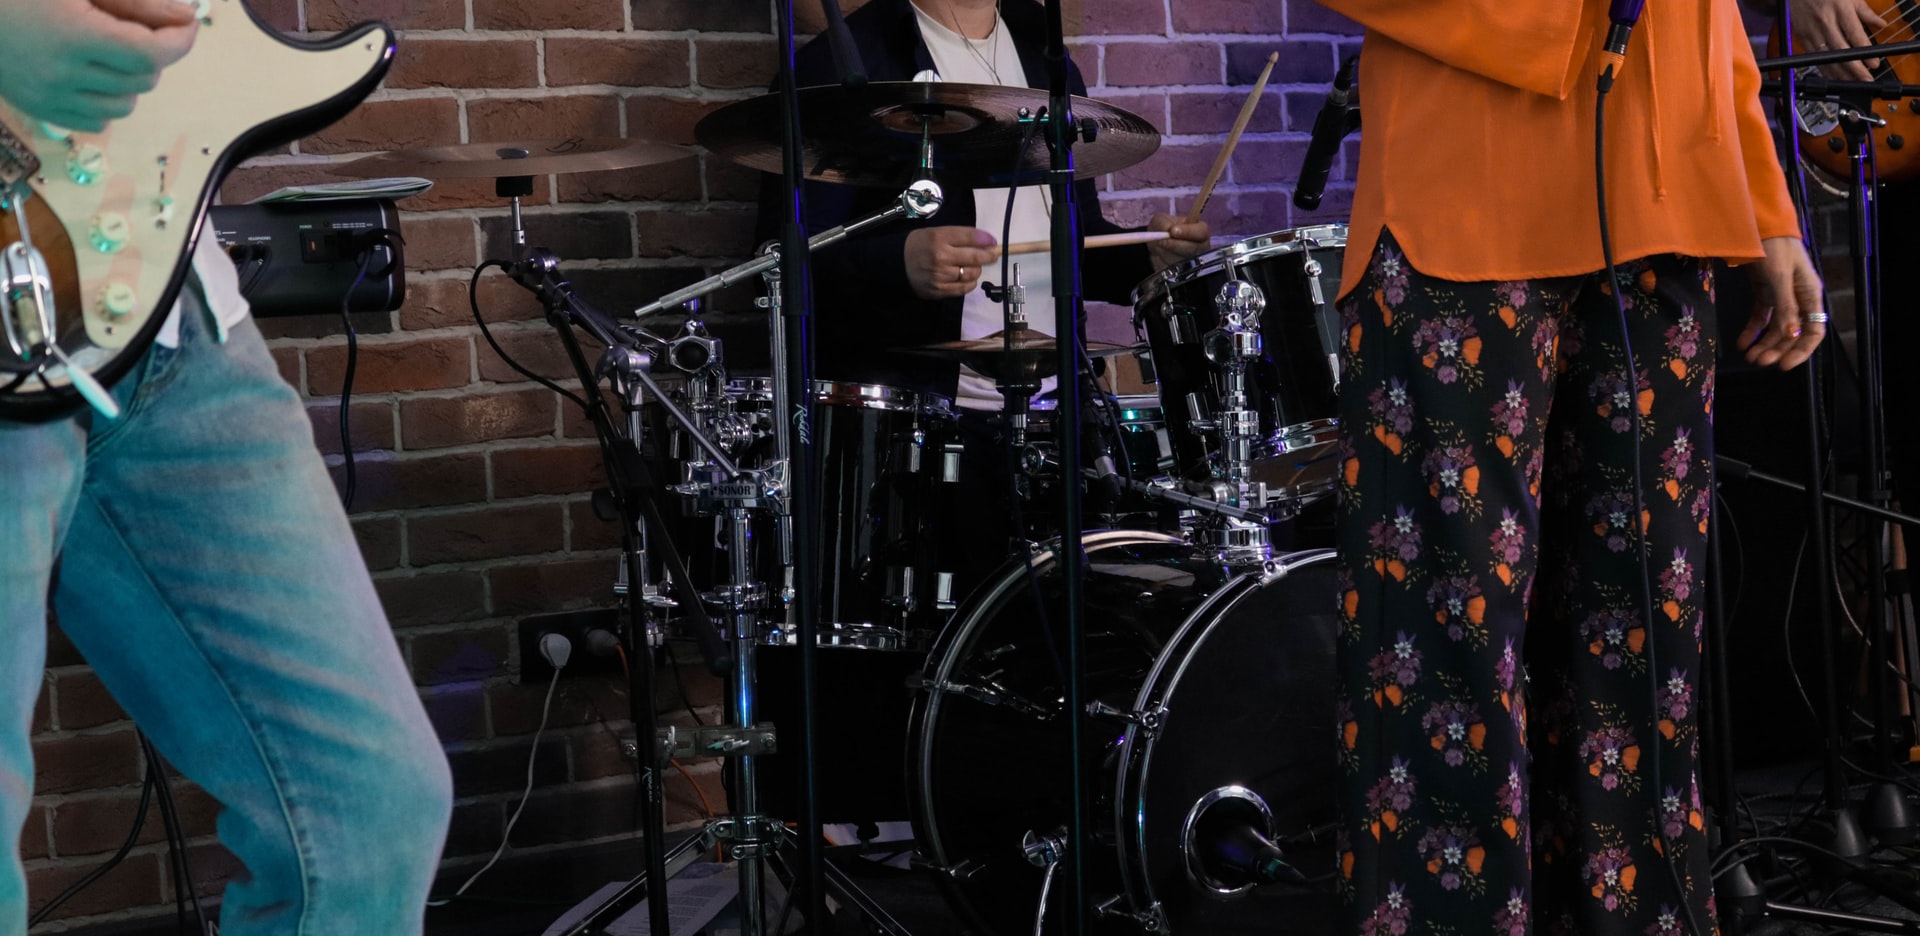
Setting Up For Drum Covers
Filming a cover video is all about emphasizing the catchy parts and other unique areas that you may have come up with by yourself. Using the right camera angle and lighting to accentuate your posture, drum hits, and other motions will keep the viewers interested.
How unique you want your content to be is totally upon you, but don’t forget: a neat-looking video with nominal skills might pull in more views than a poorly edited video of a drummer with impeccable skills and timing.
So here’s what the experts believe is the most efficient way to set up for filming drum covers:
- Find an aesthetically pleasing and quiet spot in your house or studio where you want to place the drum kit.
- Set up the cameras so that they are not crossing each other’s way while maintaining a good exposure of the kit and your movements.
- Place the light sources carefully, as you don’t want to glint on your cameras – but make sure that all the necessary areas of the drum kit and your throne are captured.
- Use a green screen in the background if you want to hide any areas or want to add effects through post-edits.
- When all is set and done, place your microphones accordingly. Their position and alignment is the most crucial aspect of the process, so it’s wise to delay working on them until the end.
- Treat the room with acoustic pads or reflectors if necessary. This will make sure your recorded sound quality matches the idea in your head. You might need some assistance from a sound engineer to properly set up noise canceling and other acoustic pads.
Things to Keep in Mind When Working on Drum Covers
Before you start working on a drum cover, there are a few things to keep in mind first. These are:
- Setting Up the Camera Angle
- Focus On the Lighting
- Don’t Overlook the Room Ambiance
- Pay Attention To Microphones
- Removing Drums From Songs
Each of these is incredibly important and plays a fairly sizable role in how effective and catchy your cover will be, so let’s go ahead and take a closer look at each one of them.
Setting Up the Camera Angle
First and foremost, decide on the mainframe for your video. If you are working with multiple cameras, you want to make sure each camera captures a unique frame and does not overlap with others.
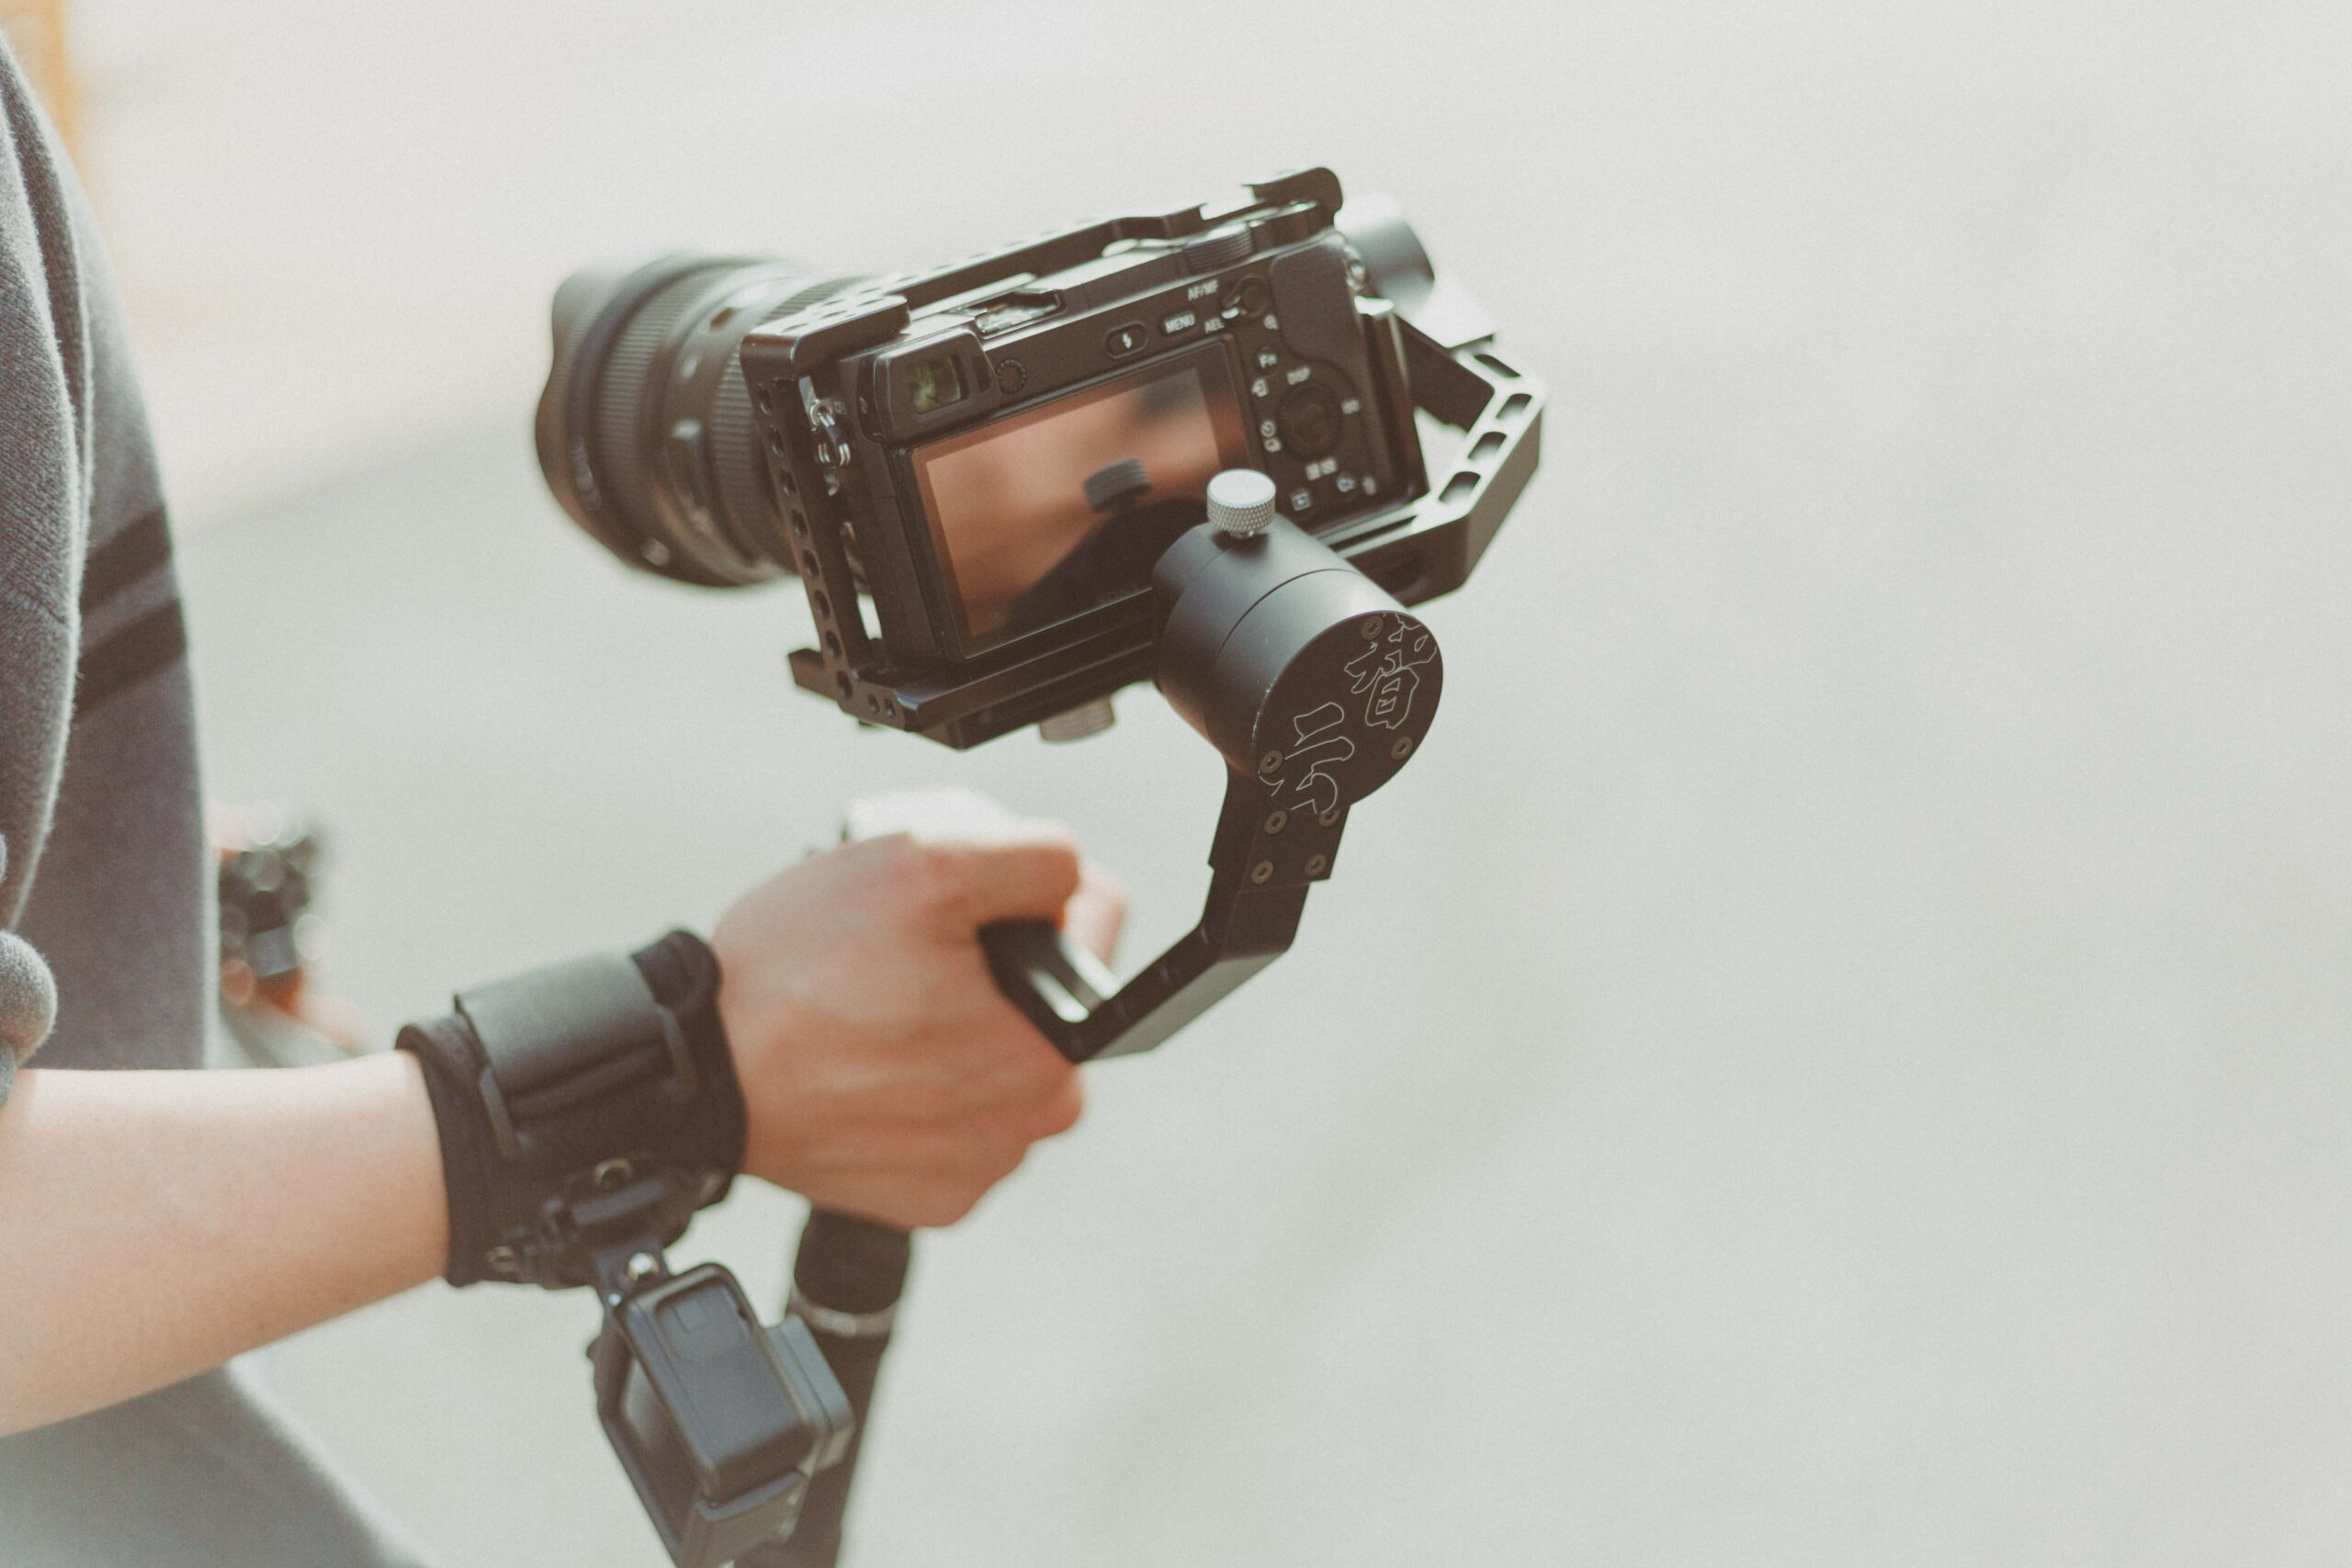
DSLR cameras are the perfect choice for wide-angle captures, as you can use them to capture the central frame of your setup. Position your main camera in such a way that it records the entire setup from a comfortable viewing angle. This footage will make up for the main body of the video.
For side angles or B-rolls, you can use any camera as long as it captures the essence of your setup and the ambiance around it. Mobile phones, GoPros, and any other standard camera can be used to achieve this task. The main purpose of capturing additional angles is to give more context to the viewers.
The main angle may or may not show your feet playing the bass drum, so it’s convenient to set up an overhead camera or a bass drum cam. Depending on the song, you may want to highlight specific areas of your drum kit, like the toms or snare drums exclusively. Adding more cameras to your setup will allow you to capture those moments at the cost of increasing post-processing.
Focus On the Lighting
Lighting is an essential part of capturing any video. When it comes to making drum covers, you will be using lighting to emphasize particular areas and movements, yet without losing any detail on the rest of the kit. It also helps determine the overall quality of the video.
You want to make sure that every aspect of the kit is highlighted in your footage, but without creating glares. Lack of lighting can make certain areas appear darker than they are, which might impact the opinion of viewers negatively.
Don’t Overlook the Room Ambiance
If you are recording your drum sound and video footage simultaneously, then you may want to take care of a few other things. First, make sure you are in a noise-free environment so there are no extra challenges while recording your sound.
If you are in a room with a tall ceiling or too much ambient reverb, then your sound may get muffled or distorted depending on the situation. Drums are loud instruments and need a full spectrum capture to sound realistic and powerful.
Getting rid of unnecessary echo might be a challenge for beginners but it’s imperative to do so before you hit the record button. Take out any redundant furniture or artifacts from your space to reduce echo and maintain a consistent sound for your microphones to pick on.
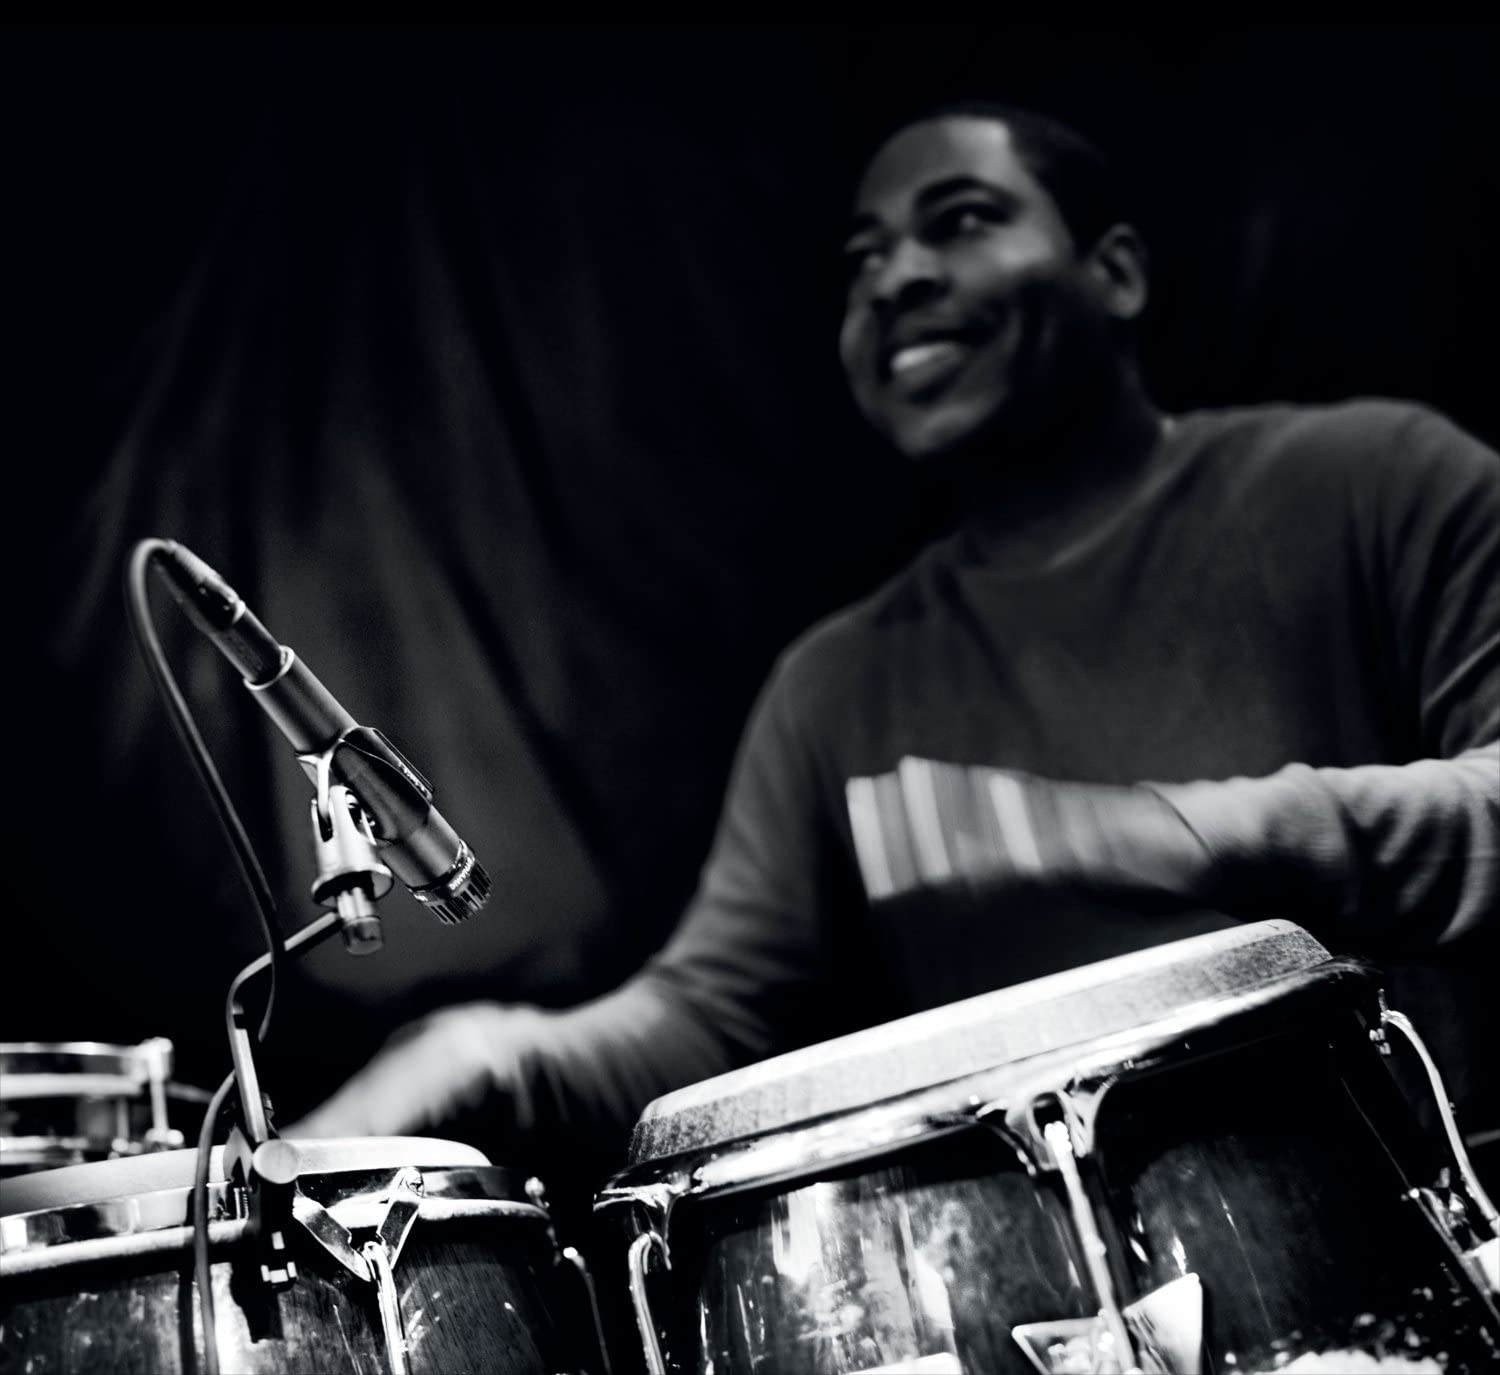
Pay Attention To Microphones
The debate around microphones can throw many people off, especially due to the varying opinions in the community about them. Don’t let other people flatter you, though, because there are tons of drummers out there who can record with a single overhead microphone and still nail their sound.
There are many options you can choose from, including:
- Shure SM57: The industry standard for capturing high-quality sounds with an edgy top-end and mid-range.
- Shure Beta 91: A solid choice for capturing those thumping grooves created by your bass drum.
- Shure KSM: A great option for an overhead mic that can capture a full-spectrum sound from a single location.
- Sennheiser e640s: A versatile mic that can be used for recording toms and snare drums due to their mid-range focus.
Your production value is mostly determined by the microphones you are using for recording. Top-end products like Shure can deliver the impedance and response curve you are looking for when recording professional-grade drum sounds.
Removing Drums From Songs
Last but not the least, the one thing you must have before you can start working on your drum covers is a drum-free track. Among many other software and methods to remove drum tracks from a song, I found that PhonicMind is the easiest and cheapest way to achieve this.
You can find drum-free versions of many popular songs on YouTube itself, but if you are looking for something more exclusive, you are going to need a few extra tools to mute that drum track in the background so you can play over it. PhonicMind charges you a nominal fee to extract or even mute the drum track from any song you upload.
Tools Needed to Shoot Videos
You will need to make sure you have basic equipment that will let you capture and edit your cover videos, such as:
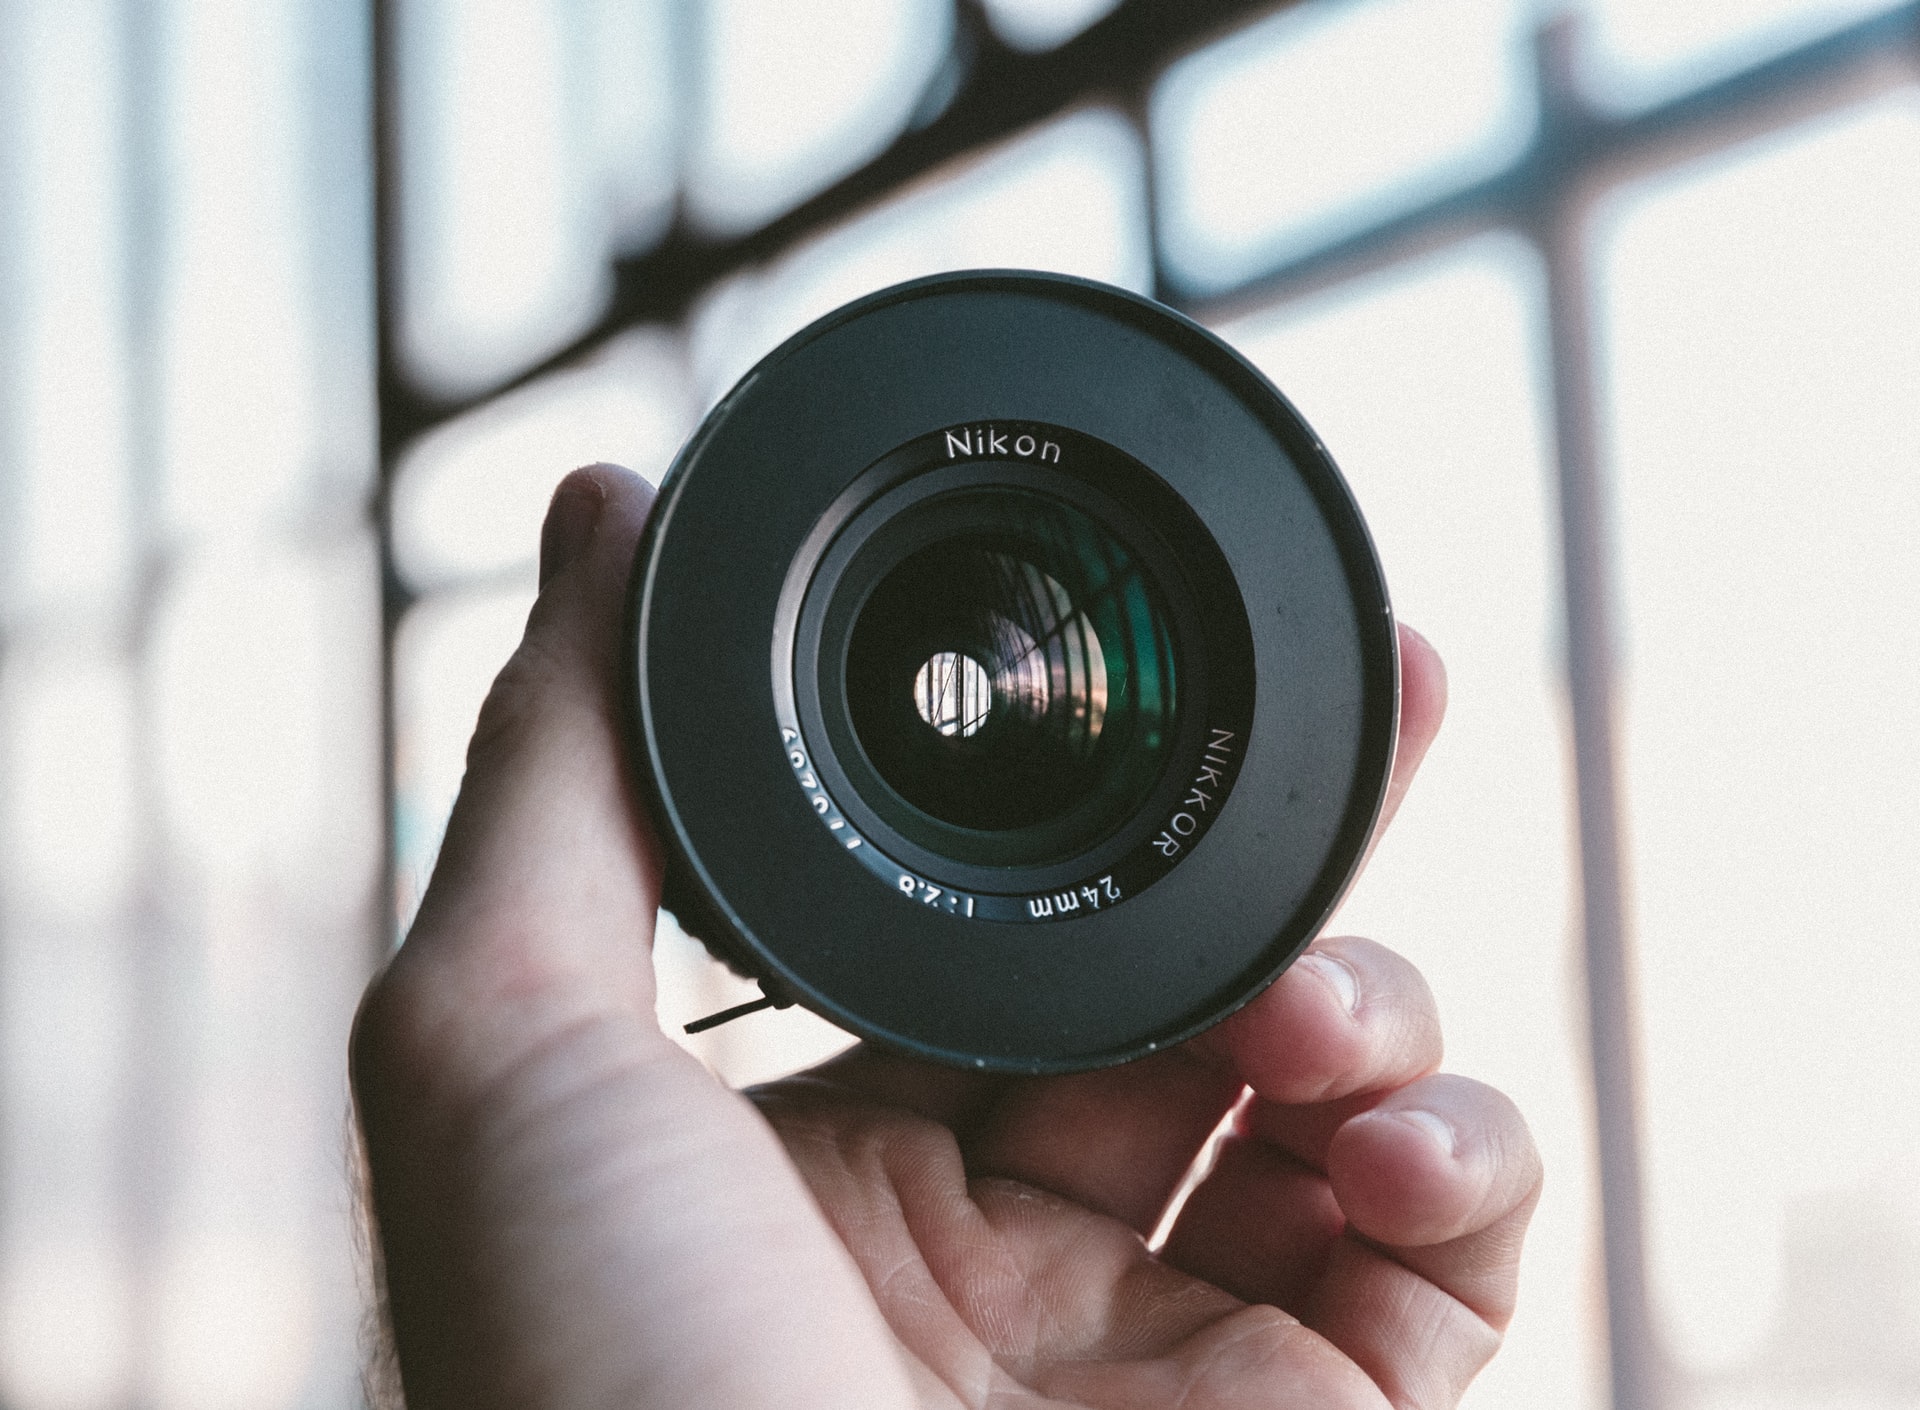
- The Camera
- The Overhead Lights
- The Floor Lights (Optional)
- Computer With Editing Software
Let’s go ahead and break these tools down.
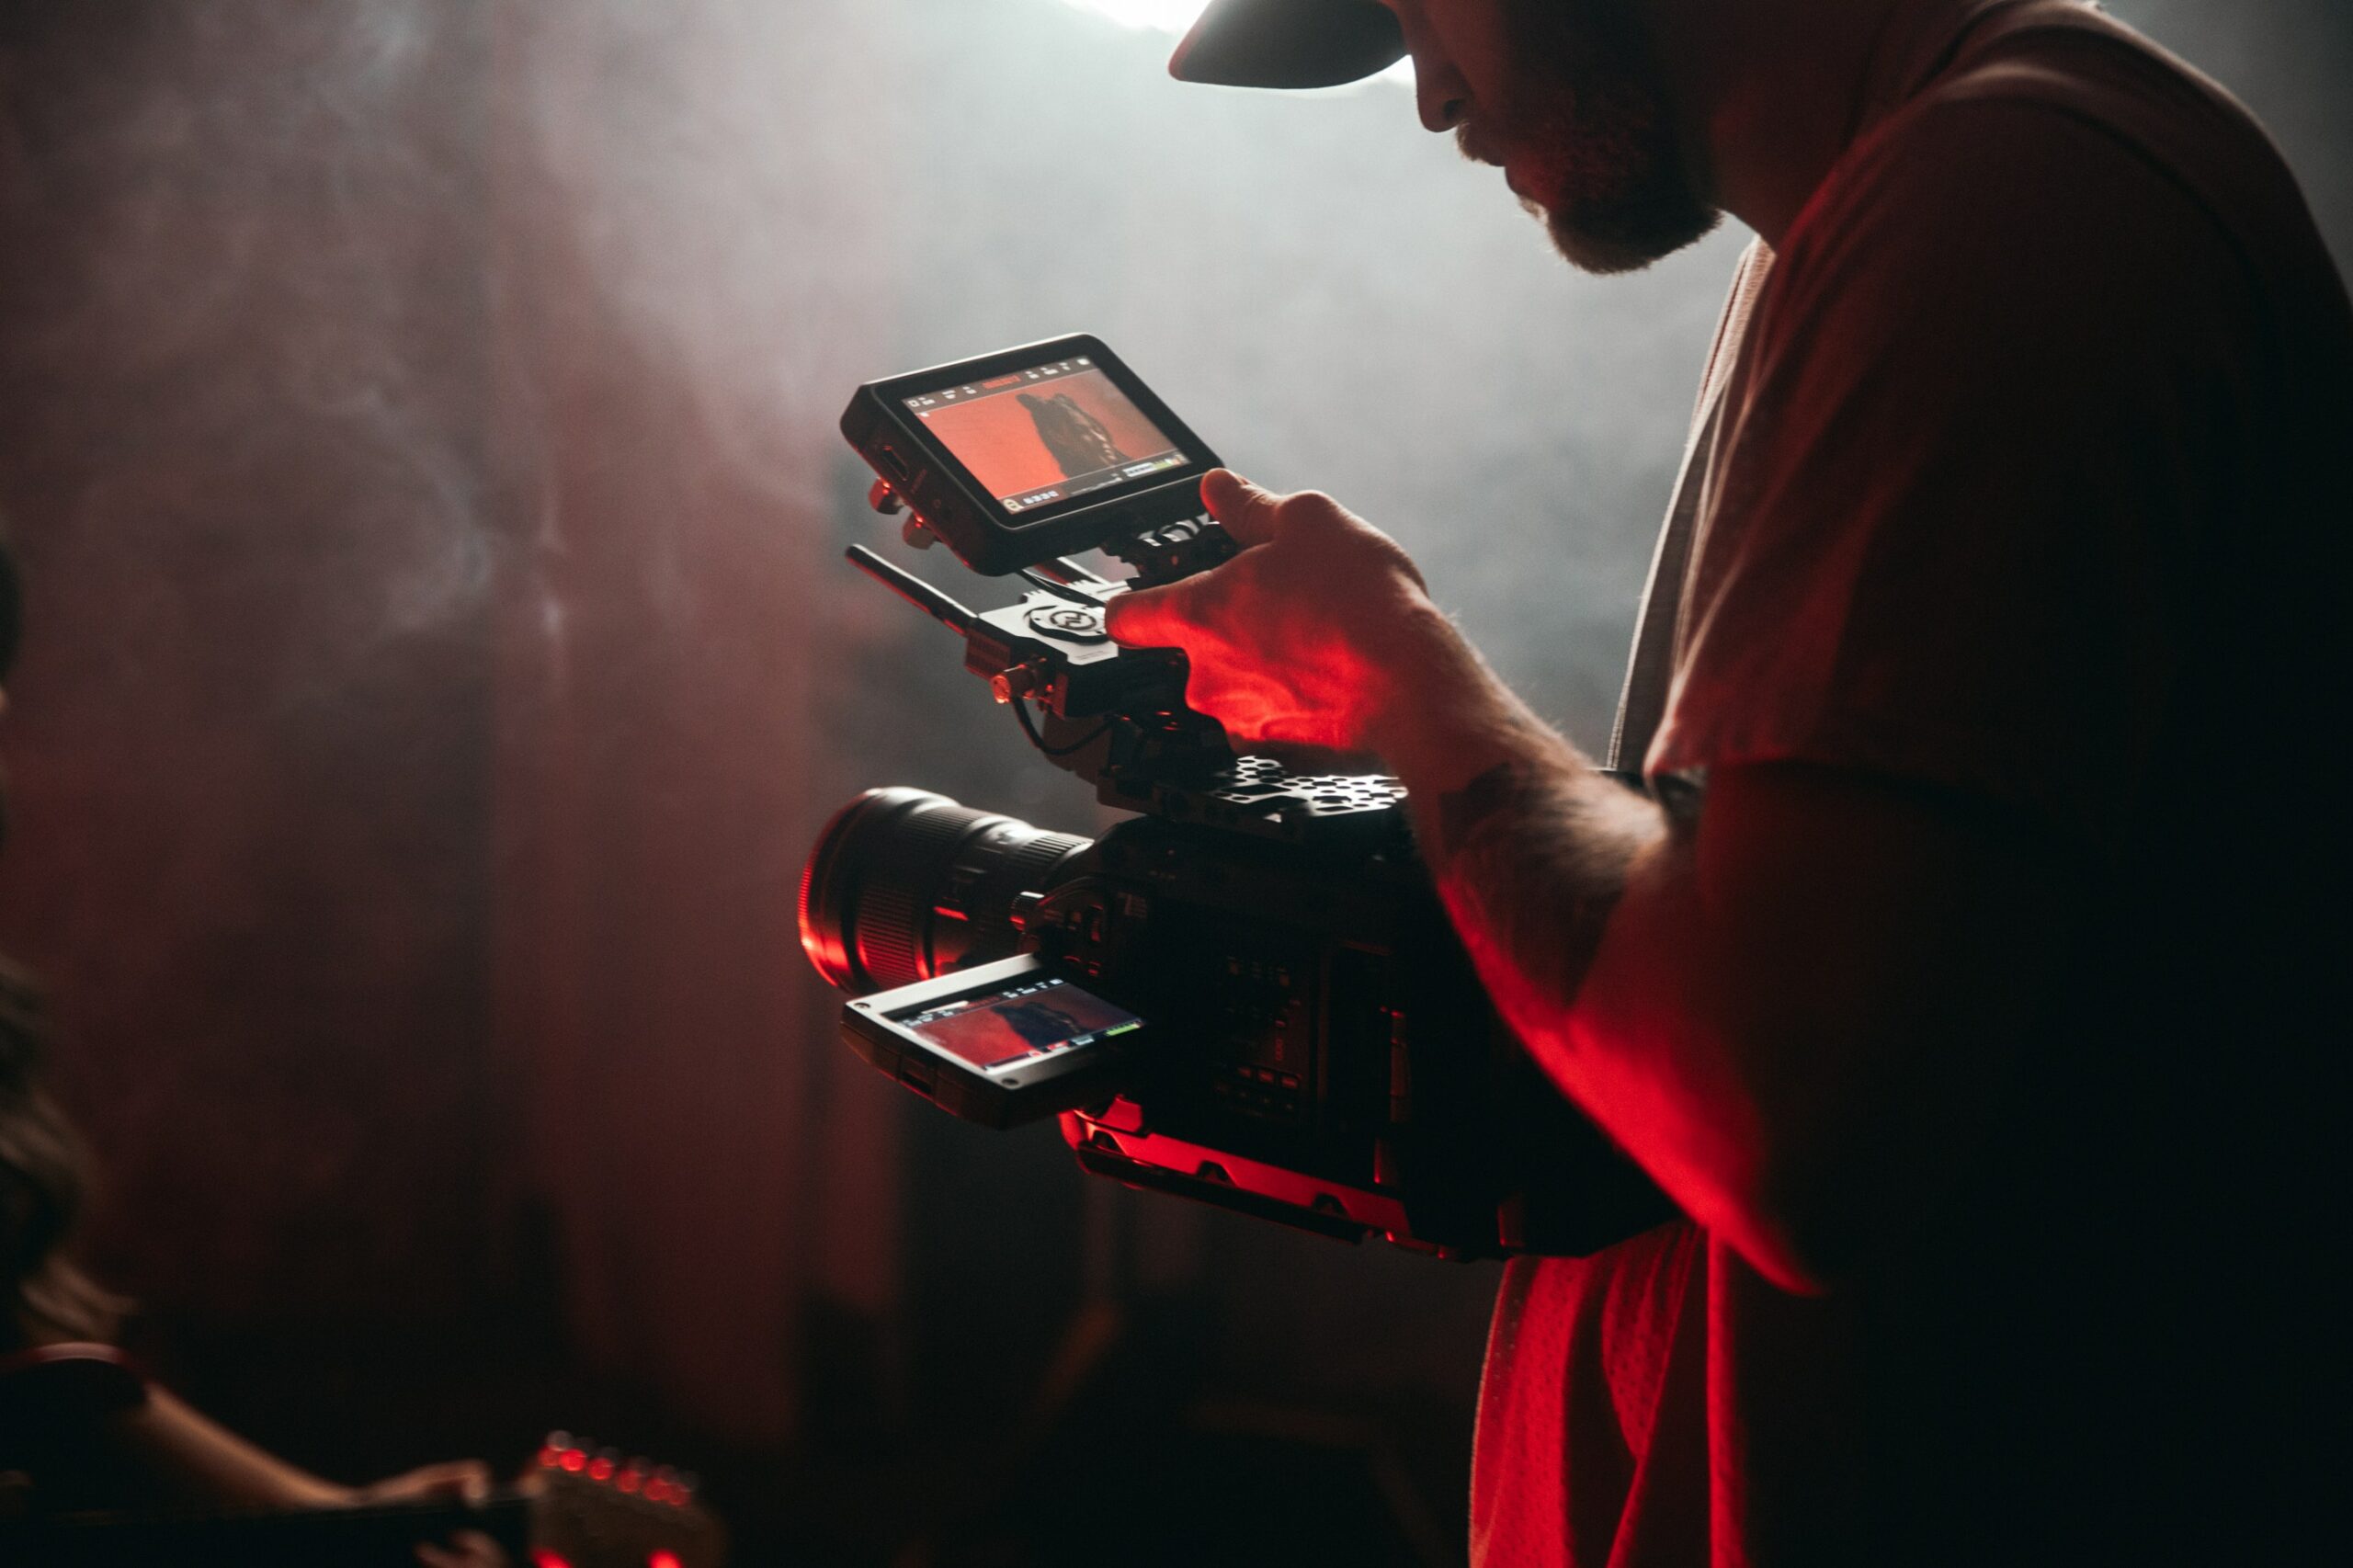
The Camera
This is where all the magic is captured and therefore it demands the most attention. What camera you end up using is subjective, but the way you set them up can make the difference between night and day.
Many people prefer using their cellphones or digital cameras to record their footage but here’s the thumb rule for cover videos: more camera angles mean better results. If you can fit in your budget, try pairing up multiple cameras while recording yourself playing the drums.
GoPro seems to be another common choice for drummers these days due to their higher frame rate capture capacity. Another benefit to them is the ability to set them up at an overhead camera angle. This angle is a staple in drum videos these days, as it shows the player and their entire kit in one shot from an eagle’s eye view.
Overhead Lights
Lighting is one of the most crucial components when recording drum covers, as it allows you to highlight or contrast certain areas in the footage efficiently. Overhead lights are mounted either on the roof or hung by a string just above the player for an exclusive on-stage look.
LEDs are a great option for overhead lighting these days since they come cheap and won’t draw too much power. Position of the lights is crucial to not only capturing the video footage in proper lighting but also allowing you to beat on the cans without getting glare in your eyes.
If you are buying yourself professional-grade LED panels, you will have the ability to change the warmth of the lights. This allows you to capture the footage perfectly right at the source and will minimize a lot of post-processing headaches.
Floor Lights (Optional)
Floor lighting is an optional remedy, but it can still have a massive impact on your videos. These are mainly used to accentuate the lower half of your rigs, such as the bass drum and foot pedals. If you are capturing your feet while playing the bass drum, floor lights are a fast and easy way to highlight those areas.
You can experiment with different colors to add a visually attractive and unique character to your videos. Although floor lights are an optional treatment, they can substantially boost the face value of your videos and thumbnails.
Computer With Editing Software
Last but not the least, you are going to need a computer with video editing software to juxtapose all your recorded footage into the final product. When it comes to processing power, I’d say any computer with over 4 GB of RAM can handle the editing operation.
The editing software, on the other hand, is an entirely different ordeal. You want something that you will be picking out for yourself depending on your playing style and how you want to present your final video to your audience.
How To Align Your Audio and Video Clips
When all is said and done, you will have multiple sounds and video recordings that need harmony to achieve the final product. When it comes to video editing software, there are tons of options in the market that will do the same job more or less but with varying approaches.
If you already have some expertise in video editing, then you may want to continue using the software that you are well-versed with. Otherwise, check out some of the options below:
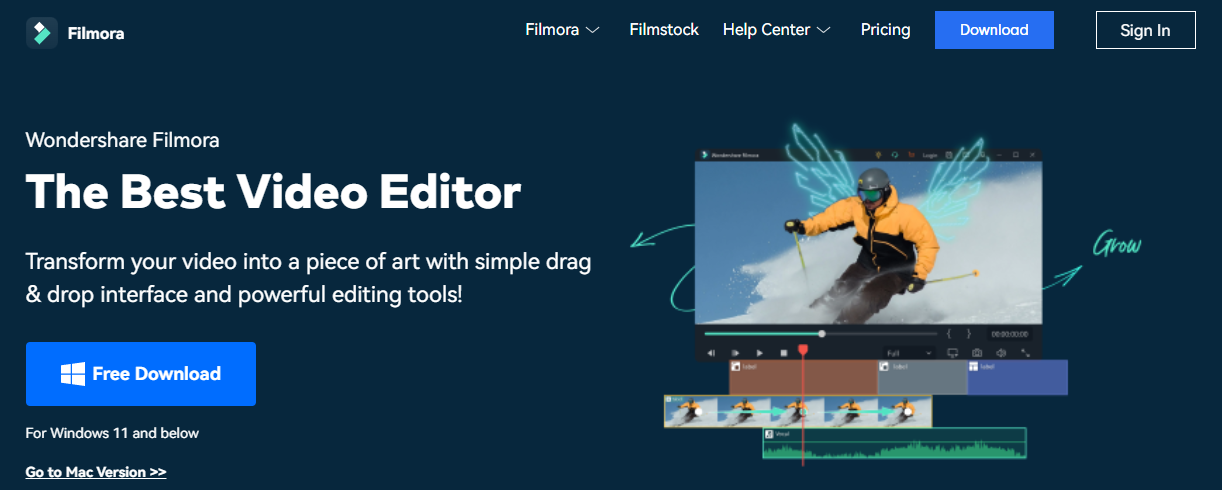
- Filmora
- iMovie
- Open Shot
- Adobe Premiere
- Final Cut
- Davinci Resolve
The last three options may have a learning curve, as these are industry-grade applications with tons of tools and templates. If you don’t consider yourself a video editor, then you should be fine working with any of the free tools available on the market – as long as you learn the basics of light correction and fusing audio over video.
A video editing software will not only allow you to view, manage, sample, and mix, but it’ll also add effects to your stems before mashing them together into the final video. This is where you can change the color pallet, add transitions between takes, and cut out unwanted parts from your final cut.
Some Tips and Tricks to Spice Up Your Cover Videos
Unbeknownst to many, you can lean on many 3D and 2D effects to make your content presentable and informative. Here are some of these effects discussed in brief:
Fake Camera Shake
This is a neat trick that many content creators abuse to give their videos a shaky appearance on hard-hitting parts of their video. The purpose is to apply a fake camera shake to selected frames in your video to accent either a breakdown or tricky rhythmic patterns.
You can achieve this by zooming into the mainframe and then changing the alignment of the frame by moving it in random directions to flow with the musical parts better. Depending on how outlandish you want this effect to be, you can either create a subtle camera shake or go for a full earthquake effect.
Black Video
This is a trick that can be pulled off using any video editor, although the terminology might differ from software to software. For Adobe Premiere users, there is a feature that allows you to switch between different camera angles without making any cuts in your footage.
A black video will let you transition between different video clips by using the fade-out feature. Once a black video layer is inserted on top of your footage, it will give you control over all the layers beneath it. This feature can also be used to mimic a disco flicker effect that many people tend to use for making cover videos.
Color Correction
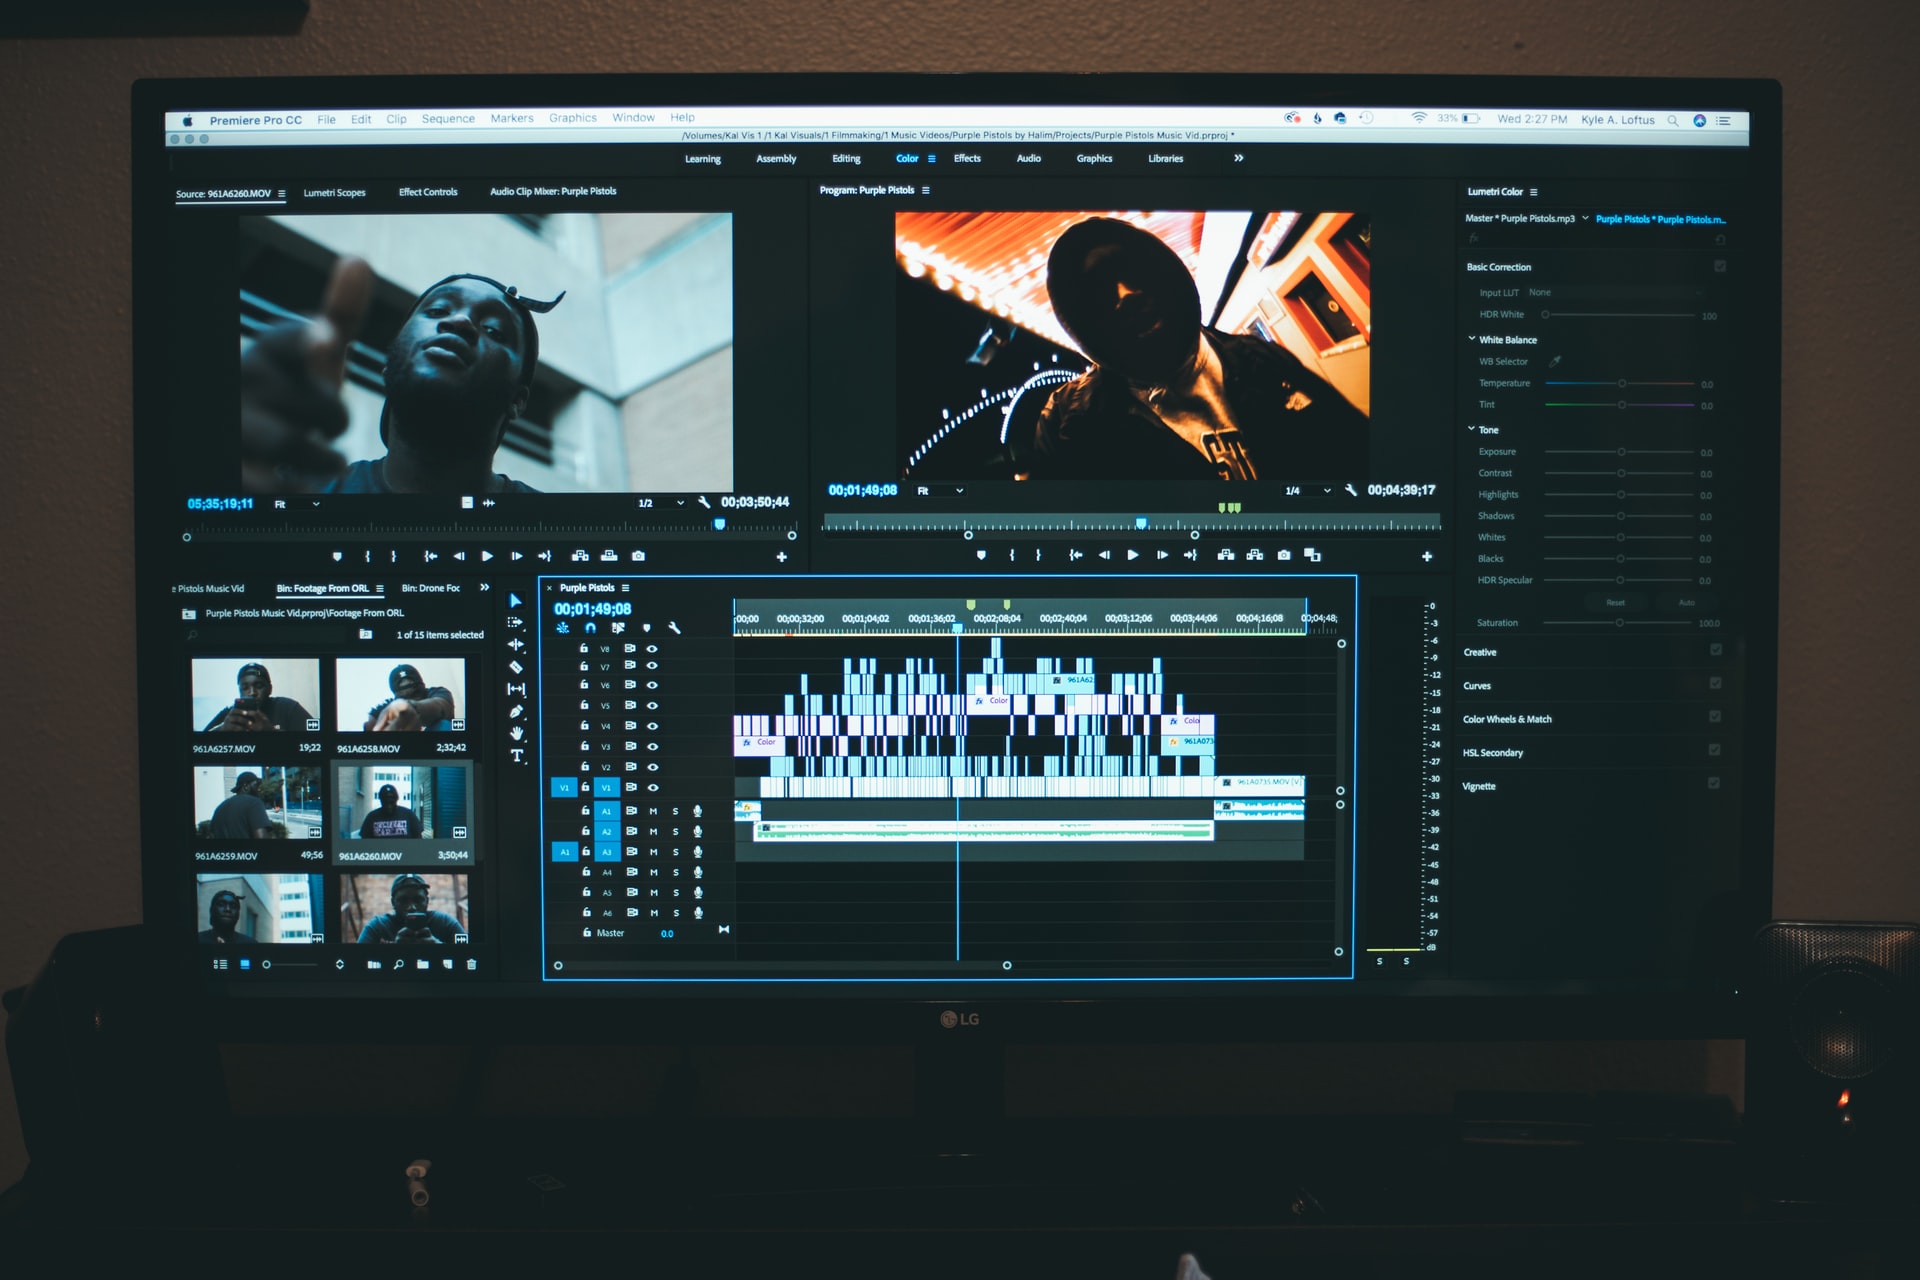
If you don’t have an intricate lighting setup and are working with a single light source, color correction is where you can make subtle changes to the appearance of your video. In most cases, content creators will use this feature to highlight areas in their footage that were lacking sufficient lighting or fade out areas that were too bright.
It also allows you to add tints to your videos to change their appearance altogether. Remember that color correction is merely a tool to adjust the lighting and color levels in your footage and should not be overdone to avoid losing critical details.
Transition Effects
Transitions are the safest and easiest way to give a movie-like appearance to your cover videos. In simple words, transition layers are typically used to switch between various camera angles smoothly.
There are tons of free as well as paid transition effects available on the market depending on the software you choose to work with. The thumb rule for transition effects is again not to go overboard with it. Adroitly use them to avoid cluttering the footage or giving your viewers a headache.
Zoom
Although simple, the zoom effect can add clarity and focus to certain parts of your video that demand extra attention. For instance, if you are hitting the toms and snare at the same time or do a major swing at the clash, you can use the zoom effect on those frames to add an element of surprise.
You can afford to be a bit cavalier with the zoom effect as long as you are not ruining the natural flow of the video. A professional video editor will extensively use this effect nearly every few seconds in a video without letting the viewers take notice.
Frequently Asked Questions
Answer: The three main areas that you should focus on when setting up your camera are the frames per second, the resolution, and the ISO.
• Frames per second: A standard camera will offer 24-30fps when recording video. This number can be higher depending on the cost and technology used by the camera. In layman’s words, the higher the frames per second, the smoother the video as more frames will be captured at any instance. Cinematic footage is captured at 30fps but for a drum cover, the recommended is 60fps to make sure that every movement appears crisp and tangible. It will also create more room for post edits as you will have more frames to work with at any instance.
• The Resolution: Unless you have a 4k camera, the standard resolution for drum covers is 1080p or 720p. Higher resolution footage will appear more detailed compared to a low resolution. Although 4k footage seems clearer and enhanced, their file size is much larger compared to other resolutions. Do bear that in mind before committing to a project if you are short on storage space.
• The ISO: In photography, ISO determines how sensitive the camera sensors and shutter are towards lighting. It also helps you control the exposure or the light gathering ability of your camera. If your setup has enough lighting, then you may want to keep this figure between 800-1200. On the other hand, if you are working in a dimly lit space, you may want to bump that figure to a decent extent.
Answer: There is no right or wrong answer when it comes to video editing software. Depending on your budget and the complexity of the project, there are tons of options in the market that will cater to your needs.
For beginners using MAC, iMovie can be a good option for editing and exporting videos in the desired format. Whereas, Windows users can use Filmora or Open shot to start making their drum covers without breaking the bank.
Professional options include software like Adobe Premiere, Final Cut, Sony Vegas, or DaVinci Resolve, all of which are ladened with hundreds if not thousands of tools and effects to spice up your video projects.
Answer: There are two ways to go about recording audio for drum covers. While many people prefer recording their audio life as they are capturing the video footage, others might prefer an easy way out.
If you are just starting as a cover drummer, you might want to keep things simple in the beginning. That means that you should capture the audio source and video footage separately and sync them in video editing software. This reduces the complexity of mixing and editing the final video as you can fix or re-record any parts where you may have made a mistake.
That said, once you get the hang of the whole process, you can start recording the audio while you are capturing the video footage simultaneously. Although a bit more demanding than our previous suggestion, this process can save you a lot of time.
Answer: In most cases, you can acquire a mechanical license to record and release a cover version of someone else’s song. This type of license covers the reproduction and distribution of songs that have already been released but does not cover public performances or exhibitions.
This means that if you want to upload a drum cover on YouTube and monetize it without facing any legal repercussions, you will have to acquire a sync license in addition to a mechanical license. Unless the song you are trying to cover has fallen into the public domain, these two licenses can free you from any legal liabilities to the original artist.
The Verdict
Setting out on a journey to make drum covers can raise a few doubts and speculations in your mind, but in the end, the payout is worth it. Making covers of your favorite songs will not only help you grow as a drummer, but it’ll also help you evolve as a performer, too.
While the process of curating your videos can be demanding at first, with the right set of tools and guidance, you can master the art of making drum covers and have their appeal to a growing fanbase in no time.
It is worth noting that the idea of making covers of complex songs can be exciting. However, if you are a beginner, take your chances with simpler songs so you can understand the nitty-gritty of this business first – and ultimately, have fun while doing it!
For more interesting readings on drum gear, check out the following articles: