Making drum videos can be incredibly rewarding. You get to see yourself play and notice things that you may not have by only listening. While making videos is a good practice tool, it’s an even better tool to get your name out there as a drummer.
The most popular video platform in the world at the moment is YouTube. If you want people to watch videos of you playing drums, that’s a good place to post them. It can be a bit daunting to start, so I’m going to help you as much as I can. We’re going to look at how to set up a space for your drums to make excellent videos.
Bottom Line Upfront: When setting up a space to make drumming videos, you need to think about positioning your drums, lights, and cameras. You have to find the best place in a room that will make positioning those things easy.
Once your drum set is placed, you should focus on getting a good camera angle. If you have more than one camera, you can set up multiple angles to use for your videos. After that, you should use LED lights to brighten up your shots. Remember that audio quality is arguably more important than video quality, so a decent drum mix is vital for making good content. You can get that by using drum microphones.
YouTube and Video Making
Before we get into the specifics, you should know that making drum videos is a process that constantly sees you improve. Your 100th drum video is going to look much better than your first one. The best time to start is right now, so don’t let yourself make excuses such as not having enough gear or not being ready to play or talk in front of a camera.
As you keep making videos, your skills will improve. This journey is an incredible one, and after a while, you’ll wonder why you waited so long to start.
So, are you ready to set up your professional drumming film studio? Let’s get started.
Placing the Drum Set
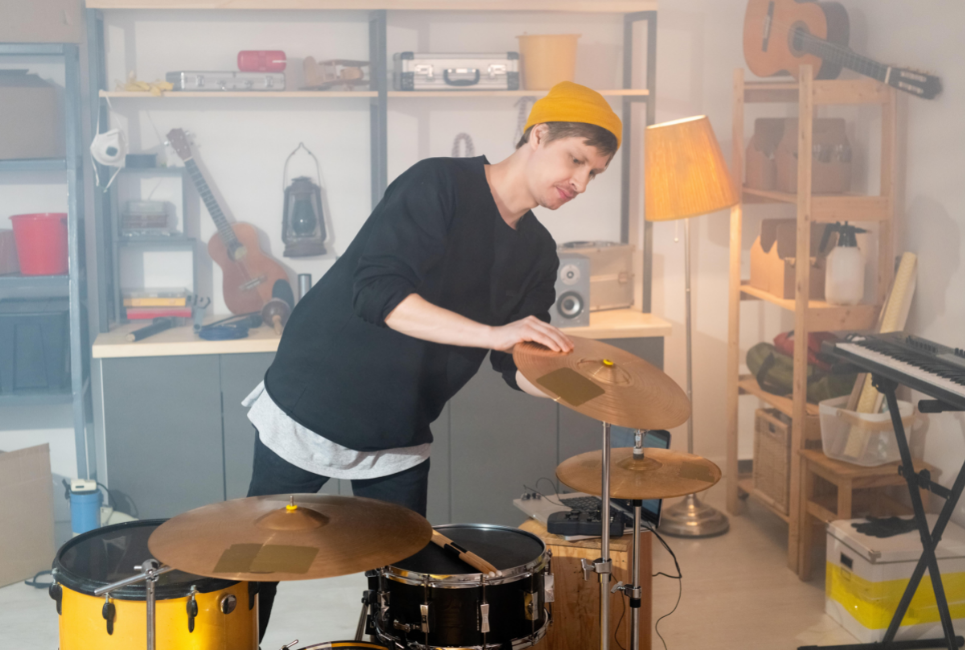
Before you planned on making any videos, you most probably placed your drum set in the most comfortable and convenient place you could think of in your practice room. That position may not be the most optimal now as you need to think of placing lights and cameras as well.
I used to have my kit positioned up against a wall when I was growing up. That placement didn’t cut it when I started recording videos as I need space in front of my kick drum to place a microphone and light stands.
So, set your drum kit up in a position that has a few feet of clear space around it. This will give you the option of placing filming equipment in those spaces.
Sound
Sound quality is more important than video quality when it comes to instrument videos. I highly suggest you focus on making your videos sound as good as possible before worrying about cameras and lighting.
Here are some things that you can do to ensure fantastic sound.
Treating the Room
If your room has a lot of natural reverb, the drums are going to echo like crazy. Think about how loud drums can be in a garage. That’s because garages have the least amount of sound insulation out of any part of a house.
The first step to treating a room for sound is to put a carpet on the floor. If your floor is carpeted already, great! If it’s not, find a rug to lay down under your kit.
Placing furniture that you already own in the room is a great way of reducing echo for free. Setting up acoustic panels is the way to do it when you have a budget to spend.
You’ll be surprised at how much better a drum kit sounds when a room has been insulated.
Setting Up Drum Microphones
You’ll need to use drum microphones if you want to have professional sound quality from your kit in videos. If you’ve never used drum mics before, you’ll need an audio interface as well to run the mics through to your computer.
That might sound a bit daunting and expensive, but there are some good budget mics and interfaces available.
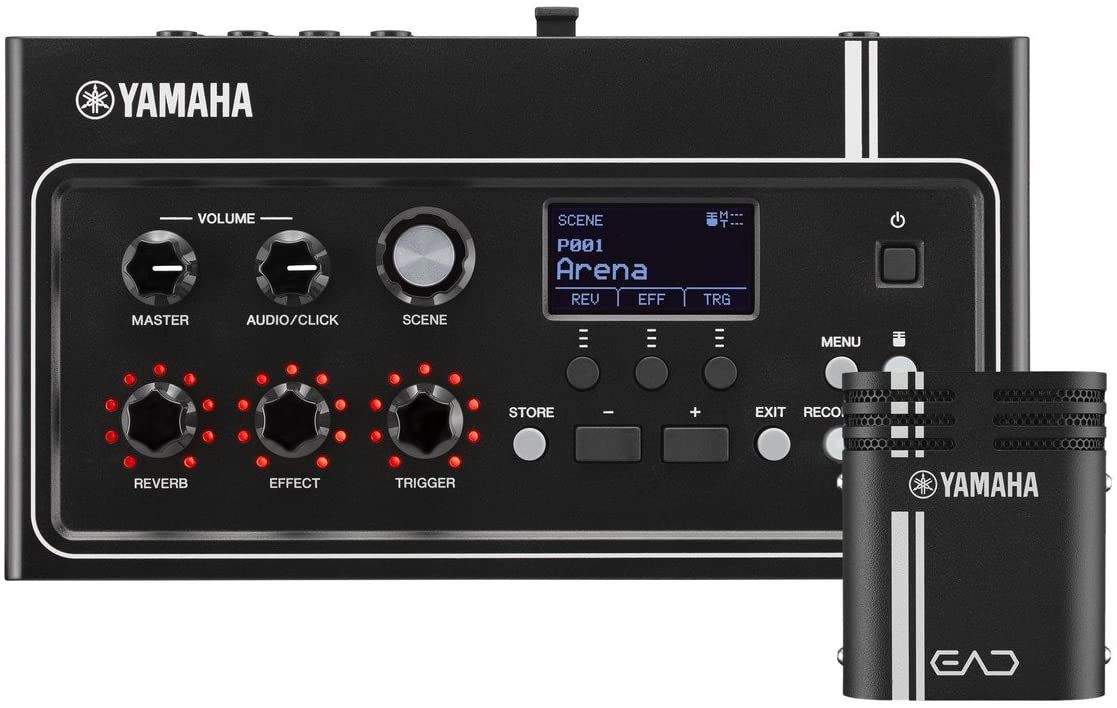
I also suggest looking into the Yamaha EAD10. It’s one microphone that you clamp to your bass drum. It picks up the sound of your whole kit, and you don’t need to connect it to an audio interface. It’s a lot easier to use than a full set of drum mics. It acts as an electronic trigger as well, meaning you can slightly alter the sound of your drums by adding electronics from the device.
Tuning the Drum Set
Your last check for getting great sound quality should be a final tune of your drums. I’ve made a habit of tuning my kit before every day of filming. This ensures that I’m getting the best natural sound possible before the mics pick anything up.
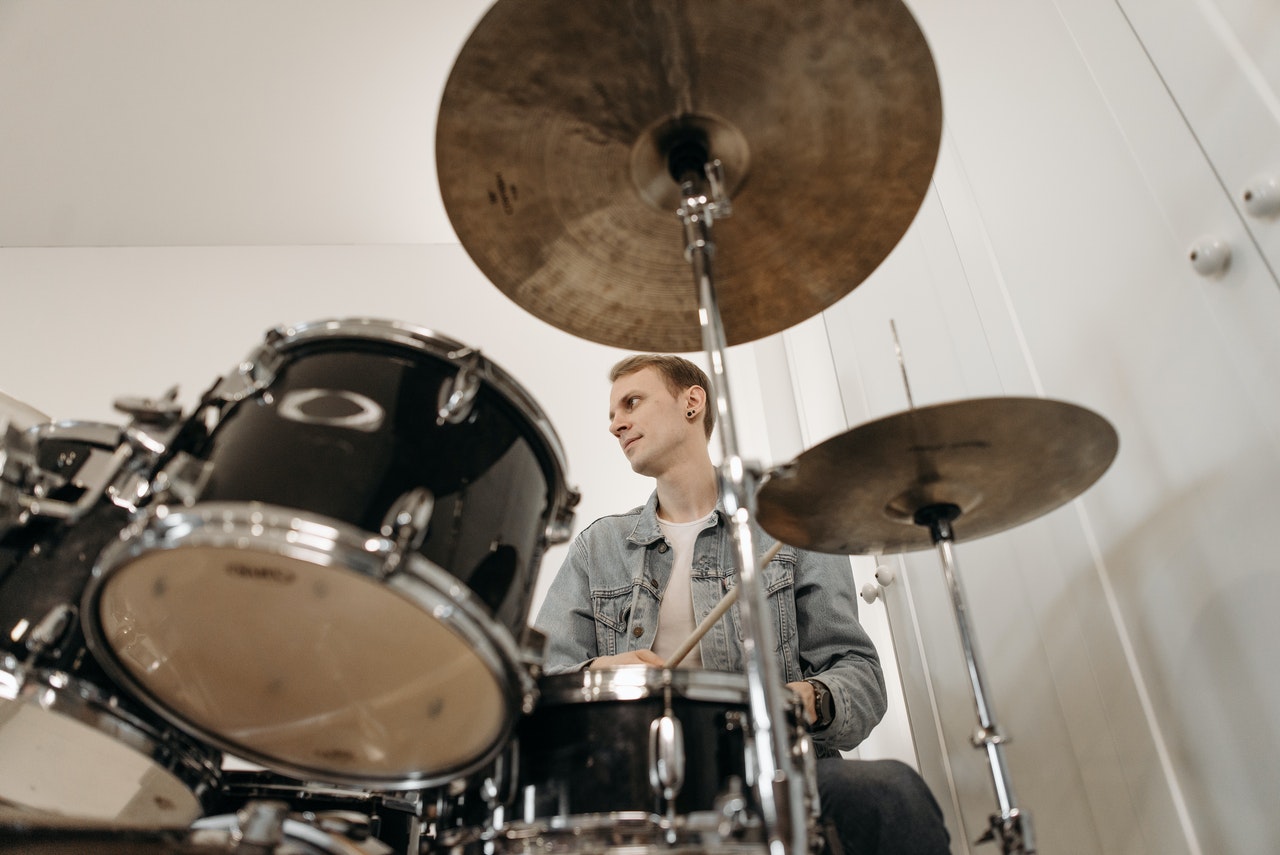
Camera Positioning
Once your drums are set up in a comfortable spot and you’ve ensured that they sound amazing with a good recording mix, you can move on to placing your camera.
A drum kit is a large instrument. Because of this, one camera angle typically isn’t enough to see everything that is going on when you play. If you’re fortunate enough to have more than one camera, I highly suggest you use all of them to get one or two more angles to use in your videos.
If you only have one camera, you could use the camera on your smartphone to get a second angle.
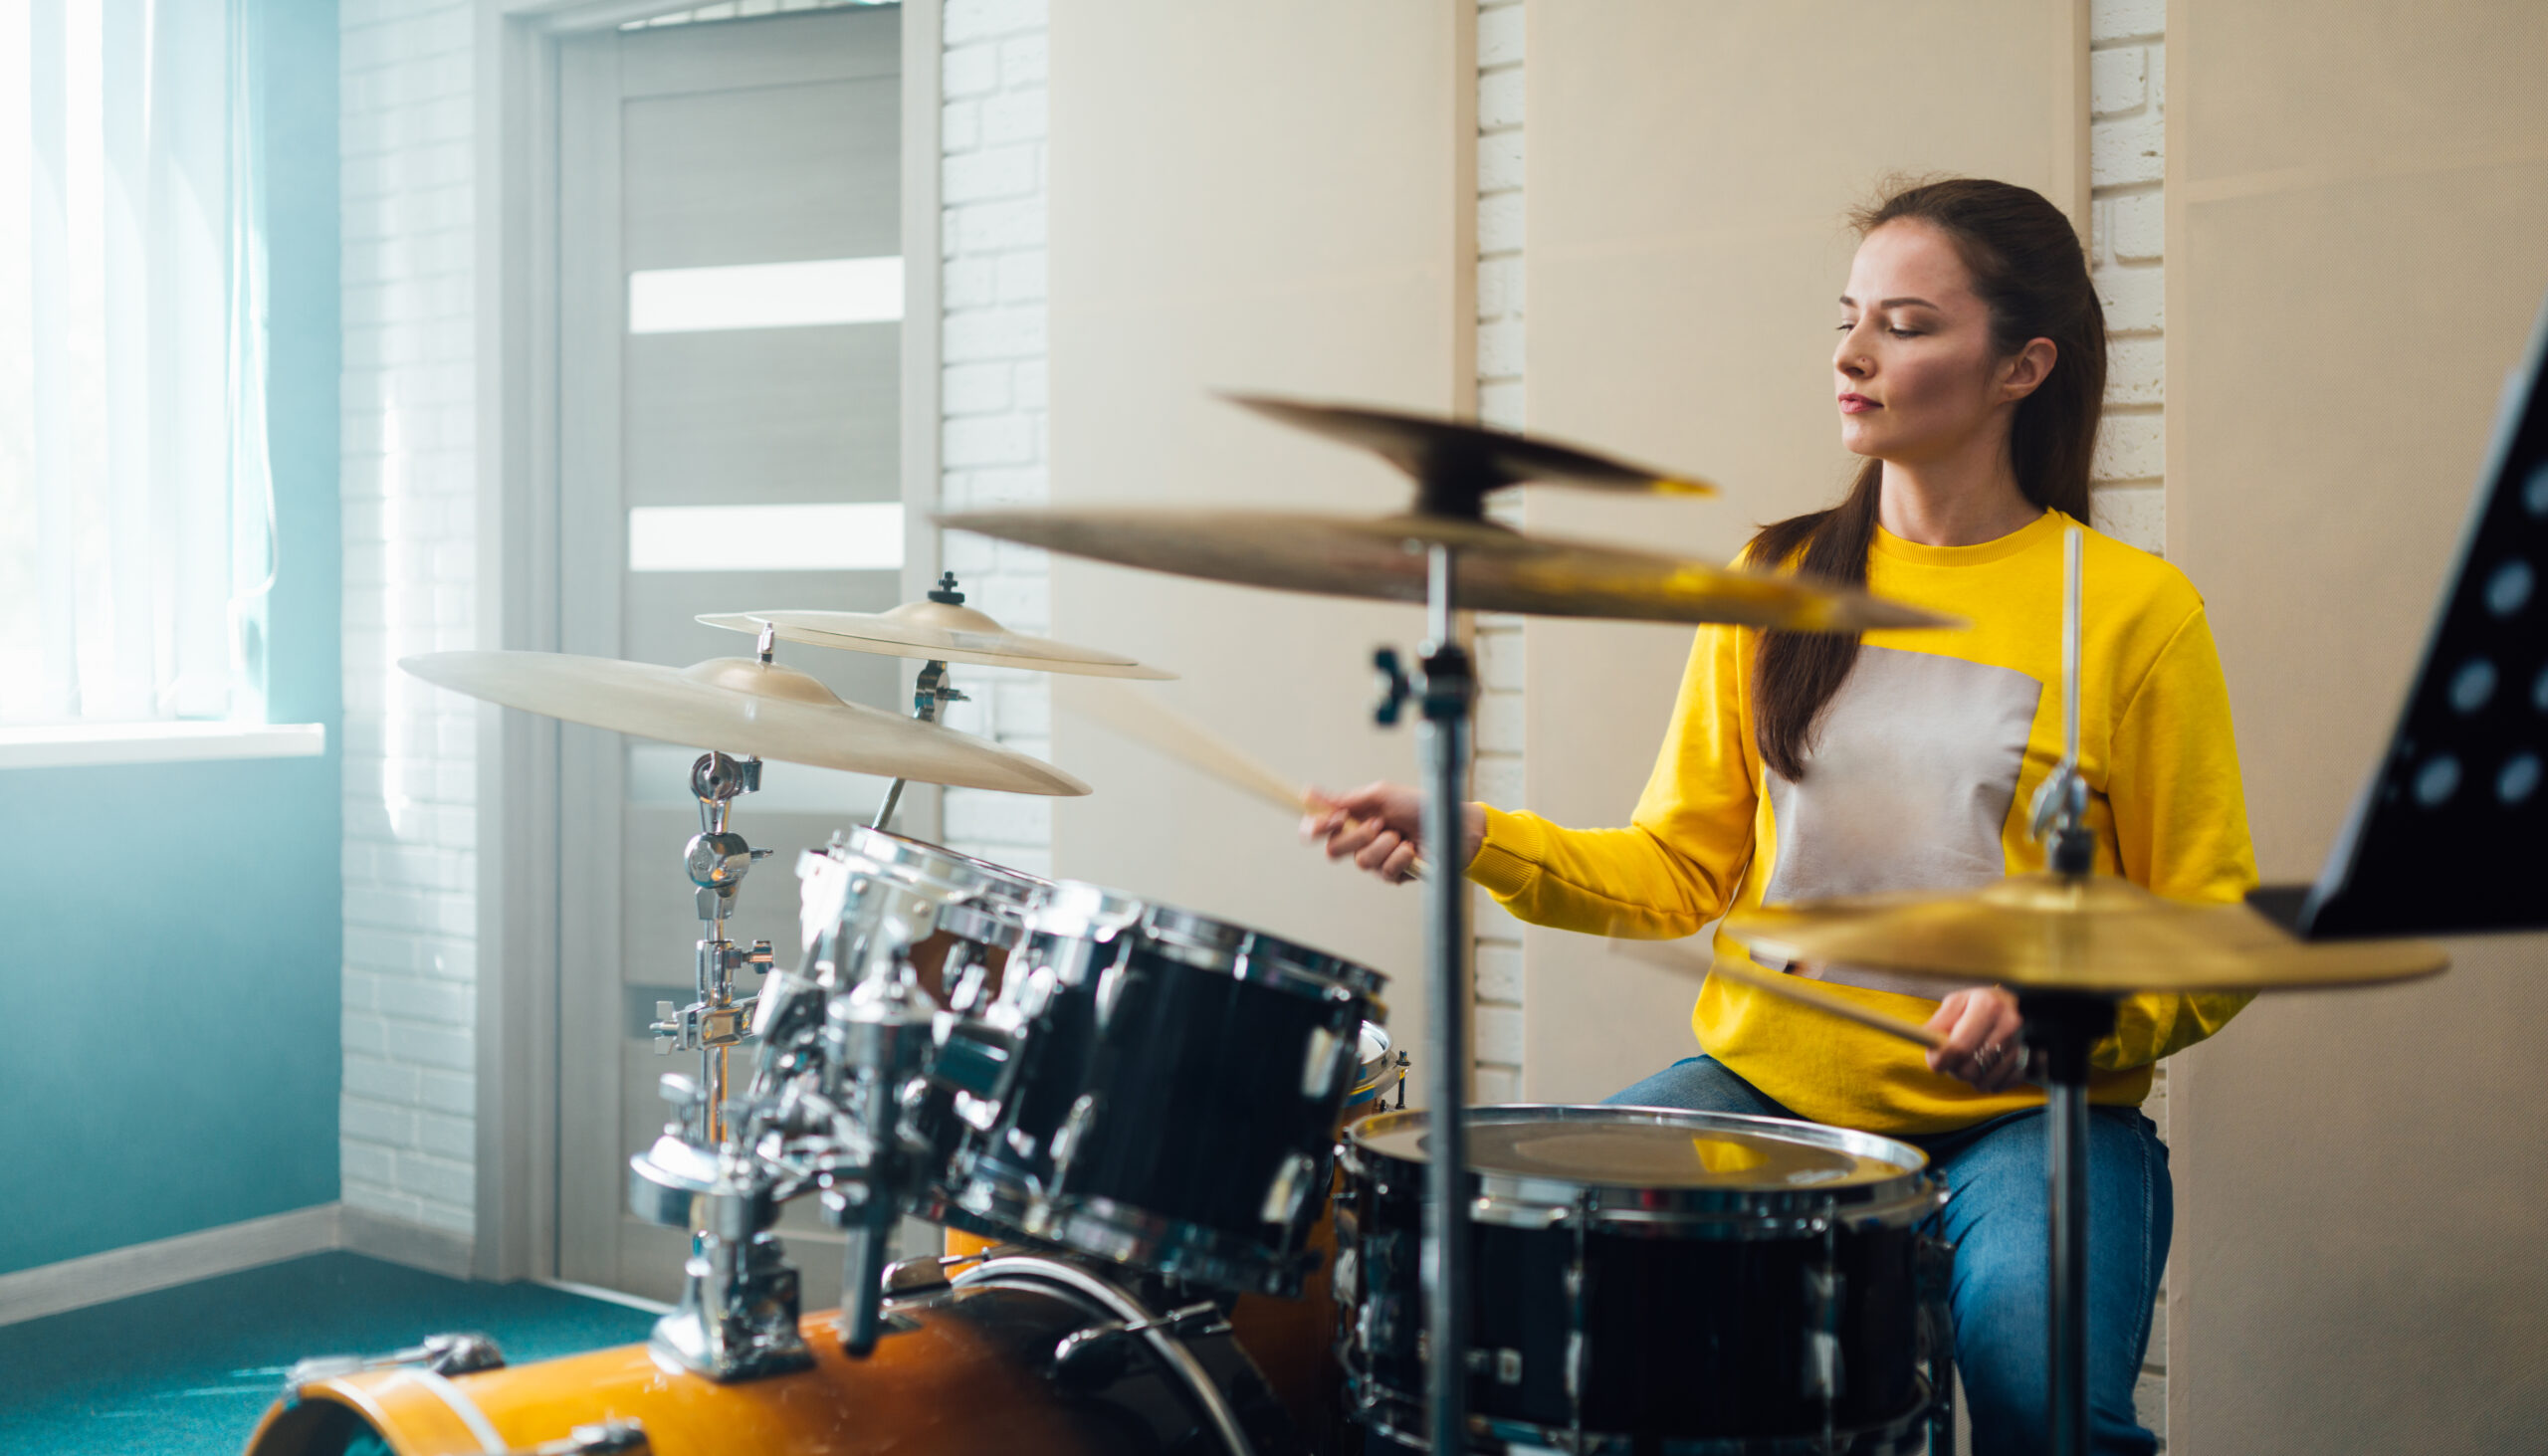
First Angle
The first angle is going to be your most important angle. You’ll use it most, and if it’s your only angle, you need to make it count.
I’ve found that the best position for a primary camera angle is to the left of your drum kit. Aim to place it a few feet away from you, and angle it between your body and the hi-hat stand.
As we mostly play beats on the drums, this angle will clearly show the snare drum and hi-hat being played.
If you place the camera too low on a tripod, the hi-hat cymbals will block the toms from being seen. So, raise the camera high enough to see the toms as well as the snare drum.
Second Angle (if possible)
You’ll find that the first primary angle won’t clearly show your foot playing the bass drum with the pedal. So, I’d suggest doing a foot cam with your second angle. To place a foot cam cleverly, you’ll need to put it somewhere that doesn’t have any obstruction between the lens and the pedal.
I’ve found the best place to put this is on your right side, near the legs of the floor tom. The floor tom legs will be your only obstruction here, so you can move the camera to face in between them.
Having the camera face this angle also adds a bit of variety opposed to the first primary angle. The primary angle is on your left while the foot cam is on the right.
It’s quite a subtle difference, but I feel that it’s a better option than having both angles on completely on your right side.
Third Angle (if possible)
If you’re able to get a third angle, I’d suggest setting up an overhead cam angle. This will be when you place your camera high enough above your head that you can see the entirety of the drum kit from a bird’s eye view.
An angle like this is only possible if you either have a high ceiling or a very flat camera lens. If your lens isn’t flat, you’ll need to get the camera positioned as high as possible.
I used to be able to get a fantastic overhead angle in my old teaching classroom. The roof was so high that I was able to put a table behind me and place the tripod on top of it. I can’t do this in my new drum space as the ceiling is too low. If you’re in the same boat, I’d suggest steering clear of an overhead angle and moving on to my next suggestion.
The last word to say about overhead angles is that you could mount a bracket to your ceiling and place the camera on there as you would with a tripod. That would be a lot more convenient, and it would save space!
Fourth Angle (if possible)
The previous angles demonstrated every part of a drum set that viewers need to see. So, you can be a bit more artistic with this next one. If you’re making a performance drum video, you could place a camera in front of the drum set face it toward you.
You could also set up an angle that is really tight. One of my favorite ways of doing this is pointing the camera at my snare drum hand and zooming in so that the viewer can see all the intricate patterns that I’m playing there.
Whichever angle you choose, make sure to have fun with it. This is where you can afford to take risks as you’ve already shown the whole kit from the other angles. Find an angle that you think looks amazing and that will add a bit of unique contrast to your video.
Just remember that you’re going to have a lot of editing to do if you have four camera angles in total!
Speaking to the Camera
If you’re planning on doing drum teaching videos, you’re going to have to speak to the camera. This is where you need to decide if you simply want to speak while sitting at your kit, or if you want to sit somewhere else in the room with your kit in the backdrop.
Whichever option you choose, it will be good to position yourself directly in the middle of the frame. This is the most aesthetically pleasing angle to watch, and you’ll see that most YouTubers do this.
Make sure not to be too close to the camera. If you’re too close, it’s going to look too intimidating, and the viewer will feel like you’re breathing on them.
So, position yourself a fair distance away from the camera. Also, make sure there’s a bit of space above your head in the shot.
Getting a good monologue angle is what took me the longest to improve on. It’s especially difficult when you’re trying to film yourself. Running backward and forwards for the camera is not fun. My life changed when I got a camera that had a screen that flipped outward. This allowed me to stay in place while making sure that I was sitting in the right position.
Lighting
Lighting is incredibly important when it comes to making videos. If you’re simply using ceiling lights or lamps in your videos, your shots from a camera won’t look professional. Cameras love lighting, so using dedicated continuous lighting is highly advised to get the best videos possible. I suggest using LED panel lights for this.
3-point lighting is a great technique to follow when lighting up your drum set for videos. This involves having three lights that you place around the set. Here are the details:
Key Light
The key light is your main lighting source. This is the light that you’ll put near your primary angle. As I suggested earlier, the primary angle will be facing the snare drum and hi-hat stand. So, you can place your key light in a similar position.
This light is what will establish the overall feel of your lighting setup. If you choose to have a warm tone, you should have a warm setting on your key light.
If you have varying light sources, I’d also suggest choosing the strongest one for your key light. As much as you can, try to light up your whole kit with it.
Fill Light
The fill light will be placed on the other side of your drum kit, near where you put the foot cam. It will counter the shadows that the key light is causing. To use this light most effectively, I’d suggest placing it at a lower height than you have the key light positioned at.
Back Light
The back light is the light that you can put in front of your drum kit. It will give your drums a bit of definition. Without it, the rims and edges of the drums and cymbals may blend in with whatever background you have. It will also counter the shadows that have been caused by the key light and fill light.
If you have a solid 3-point lighting setup mixed with good camera angles, your drum videos will look amazing.
Tips for Making Drum Videos
Clean Up the Space
The easiest thing you can do to make your videos look more professional is to clean up the space around your drum set. While this seems fairly straightforward, it’s easy to get lazy and miss a few things.
If you have stick chippings on the floors, make sure to vacuum those up before shooting videos. If your drum space is in your bedroom, don’t leave anything in the camera shot that shows clearly that you’re in your bedroom.
I once filmed a series of videos in my old classroom where the garbage bin could clearly be seen in the corner. It’s incredibly embarrassing looking back at that. At the time, I didn’t think it was a big issue. Looking back, there’s nothing I can think of that is more unprofessional than having a garbage bin clearly present in your drum video.
Use Clip-On Mic Stands
If you’re using boom mic stands to hold your microphones in place around the kit, you should think about getting clip-on stands that attach to the drums instead. Using these will decrease the clutter in your camera shots. The less clutter there is, the cleaner and more professional your videos look.
The same can be said with LED panel stands. If you have them on tripods, try to place them outside of the shots of your kit. I know of some drummers who mount their lights and mics to the ceiling. This keeps the space around their kit completely empty apart from the drums themselves, and that looks the best to watch.
Another thing to keep out of the way are microphone cables. The easiest way to do this is to bunch them together en route to the interface and strap them to the floor using black insulation tape.
Position Cameras Where You Can’t See Them
If you’re using multiple cameras, another thing that may make its way into your shots are the cameras themselves. When positioning your angles, make sure that you can’t see the other cameras.
This may not seem like a big issue. After all, the audience knows that you’re using multiple cameras to film the video. However, it’s subtly pleasing for a viewer not to see any cameras. Seeing a camera in a shot has the potential to pull someone out of their viewing experience. They’ll become more aware of the production of the video instead of fully enjoying the video that you’ve created.
Think About Your Audience
When making drum videos, think about what your audience would love to see. Keeping their best interests at heart is the surest way to grow a following. This is what you should be thinking of when selecting different camera angles and positioning your lighting.
If you’re making a demonstrative drum video, make sure to have a camera angle that clearly demonstrates everything that a drum student would need to see. If your drum video is purely for the sake of entertainment, you can be more artistic with your camera angle choices.
This is something I constantly think of when making videos. Your hands and feet are the most important parts that need to be seen when you’re drumming, so always include angles that show them.
Be Entertaining
Finally, be as entertaining as possible. If your viewers aren’t entertained, the chances aren’t high that they won’t come back to watch more of your drumming videos. While the easiest way of entertaining people is to be vivid and extravagant in the way you play the drums, there are other ways to keep your viewers engaged.
Something that I find incredibly entertaining when I watch drumming videos is how some drummers play the most intricate patterns while looking like it’s the easiest thing in the world to them.
You can also edit your drum videos in a way that is more entertaining than if there were no angle changes or jump cuts.
FAQs
Answer: Two of the most popular video editing software packages are Final Cut Pro and Adobe Premiere Pro. However, both are fairly expensive options if you’re not planning on doing any hectic video editing.
When it comes to drumming videos, you’re most probably just going to be editing audio over video and mixing a few different camera angles. Most free video editing software allows you to do that quite easily.
If you’re using an Apple device, you could use iMovie. If you’re on Windows, DaVinci Resolve is an excellent free tool. It takes some time to learn the odds and ends, but it’s highly worth the time you put in. If you’re willing to learn how to navigate it, I’d suggest using that over iMovie on a Mac as well.
Answer: Yes. However, you need to see how other platforms cater to long-form content. A 15-minute drum cover can be uploaded on Instagram TV, but it won’t be possible on TikTok.
My advice is to cater to the audience of the platform you’re on. If you want to make long-form drum videos, stick to posting them on YouTube. Shorter videos work better on platforms like Instagram and TikTok. The best way to grow as a content creator is to make videos for each platform. Your audience will also grow from doing this.
A strategy that I use is cutting up a few of my YouTube drum videos and posting short snippets on Instagram. A lot of podcasters do this, and I’ve found it works well with my drum videos as well!
Answer: Audio quality is arguably more important than the video itself. When it comes to audience retention, viewers are far more likely to click off from a video if the audio is bad compared to if the video quality is bad.
This is amplified with drums as they’re so loud that they distort camera microphones. If you want to make good drum videos, you’ll need to use some drum mics. Otherwise, your videos aren’t going to sound amazing, and you probably won’t get as many views as you’d like to.
You don’t need a full studio recording setup, though. One or two drum mics are enough to get decent sound quality.
Answer: When it comes to drumming videos, I’d argue that LED panel lights are more ideal than soft boxes. Soft box lights are often quite large. Trying to fit those in along with your large drum setup can be a nightmare. This will be made even more difficult if you don’t want the lights to appear in your videos.
LED panels are a lot smaller and more flexible. You can position them cleverly around your kit so that you get the best lighting setup possible that also doesn’t interfere with your drumming space. Many LED panel lights also allow you to control their intensity which is quite useful.
Answer: There’s no set method to this. However, there are steps you can take that have worked well for others. Firstly, the most important thing is that you post consistently. Posting videos at inconsistent intervals is the fastest way to kill the momentum on your channel. YouTube wants content, and the algorithm will reward you for posting constantly.
After that, I’d suggest making content that sets you apart and that viewers find truly valuable. The more valuable your content is, the more people will watch it. That’s easier said than done, but it’s a tried and tested method. You have to do something that sets you apart from other YouTube drumming channels.
Lastly, you must create enticing titles for your videos and back those up with clickable thumbnails. The more people that click on your video after seeing the thumbnail, the more YouTube will promote it.
Conclusion
If you follow the basic tips I’ve given here, you’ll have an excellent platform to start from for making drum videos. They will work well whether you’re making videos for YouTube, Facebook, TikTok, or Instagram.
If you’re struggling to find some inspiration, watch a few YouTube drummers to see what their setups look like. Decide what you like and what you don’t, and then implement those things into your own setup. Remember to strive to be original, though. There will be no better drum video setup than the one you built yourself.
For more interesting readings on drum gear, check out the following articles: