If you’re wondering , you’ve come to the right place. my was always something I struggled with in my earlier years of drumming.
I eventually discovered a few tricks that changed how I approached it, and up a is now something that I always look forward to.
I’m going to explain my process and help you learn quickly and efficiently. Let’s dive in.
Why Do Drums Need to Be Tuned?
Before we get to the step-by-step guide, you need to know why you’re your . It’s great to have a beautiful-sounding set, but the of the is especially important. This is because the is the most important in your whole setup.
It’s the that you play the most since it’s used to provide backbeats in grooves. A backbeat is when you play the in repeating rhythms to keep a groove driving.
If a isn’t tuned well, it’s not going to sharp or cracking. Those qualities are often needed, especially in a band setting. Having an untuned can very easily detract from the overall around you.
So, you should always aim to have the best possible. the is the only way to achieve that goal.
Process

Now that you understand why you need to the , you’ll have a better thought process when going through the motions of actually it. Following these steps will be the best way for you to achieve getting a great from your .
Heads
One of the biggest reasons for drums having unattractive sounds is the drumheads that are placed on them. The first decision you need to make when your is deciding whether you need to buy a fresh for the top part of it.
Drumheads wear out over time. As they do that, the quality of decreases. Changing heads is something every has to do eventually. Since the is played the most in a setup, the typically needs to be replaced more frequently than the heads on the other drums around the kit.
You should also think about changing the on the bottom of the . The bottom will affect how the wires whenever you hit the top of the . It’s not as important as the top in the process, but it can make a big difference if your current isn’t great.
Here are some reasons for getting a brand-new :
- The current is very dented
- There are marks and scratches all over the current that affect the
- You have a cheap that doesn’t great (a high-quality will make a world of difference)
- You haven’t changed the in a while (Most drummers typically change heads at least once a year)
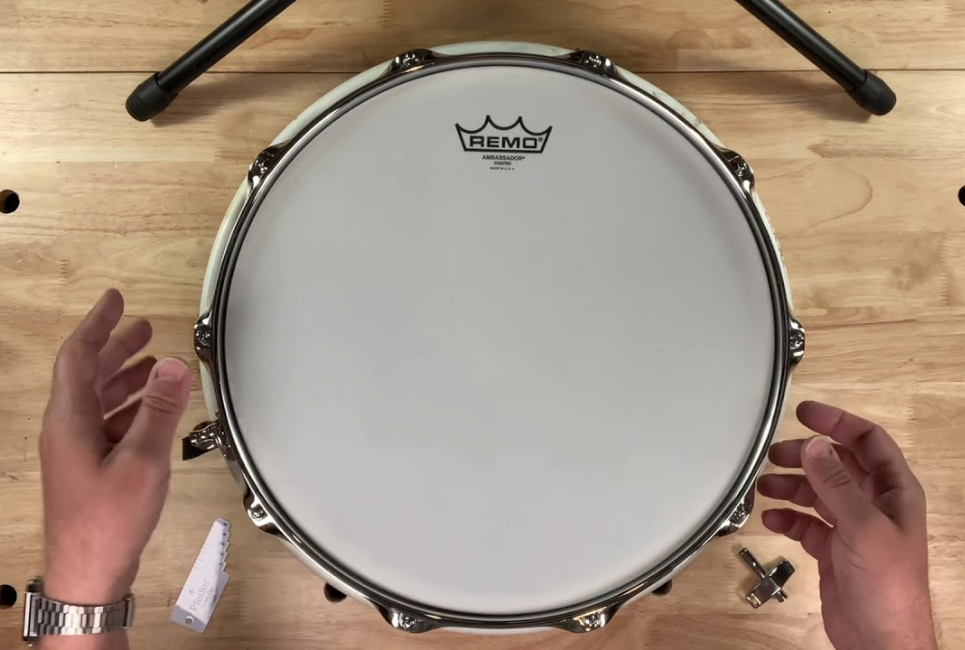
We’re spoiled with choices as drummers. If you’re feeling a bit overwhelmed with all the options, I’ve found that one of the best standard heads is the Ambassador.
Make sure that the you buy is the same size as the you have. Most snares are 14,” but you may have one that is smaller.
Key
The most important tool you’re going to need in the process is a key. You need it to twist all the lugs around the hoops of the . If you don’t have one, you can easily find one at any music store. You could also order one online.
They’re very inexpensive, so I suggest getting a few of them. keys tend to get lost fairly often. Losing keys is something that all drummers experience, and having a few of them will counter that.
I’ve found that the best place to keep a key is on my keychain. The chances of losing it are much lower with it there!
Removing the Old Drumheads
Now that you have your key and your fresh , you need to remove the old on the . Even if you don’t have a new , you should still remove the current so that you have a starting platform for the .
You remove the by loosening all the lugs around the hoops of the with the key. Once they’re loose, you can lift the hoop off the and remove the .
It’s a good idea to give your a bit of a clean at this point, as you’ll find stick chippings around the inside of the shell. Wiping those away will preserve the quality of the . Once you’ve done that, you can place the new or current back onto the top of the and cover it with the hoop.
Tightening the Lugs
Your first point-of-call from this point will be tightening all the lugs with your fingers. Don’t use the key yet, as finger tightening is the first step. The best way to a is to have all the lugs at the same tension. Tightening as tight as you can with only your fingers is the best way to achieve that.
Once you’ve done that, you’ll be ready to tighten each lug with the key. You need to constantly think about keeping all the lugs at the same tension to keep the in . So, if you turn one lug half a rotation with the key, you need to do the same with all the other lugs as well.
An important tip to remember is to go through the lugs in an alternating pattern. If you go through the lugs in a clockwise direction, you’re going to stress the , which isn’t good for it. Rather, you should tighten one lug and then move to the one that is directly across from it.
You need to twist the lugs enough for the to feel tight on the . If it feels loose, it means the lugs are too loose. A loose isn’t going to feel good to play on.
Remember that whatever you do to the top , you need to do to the bottom one as well in the process.
Choosing a
Once you have all your lugs tightened enough for the drumheads to feel stiff, you get to choose what your like.
This is where the top and bottom heads interplay nicely with each other. The higher the of the bottom , the tighter the is going to . There will be less of a sustaining ring since the will be bouncing off a tight surface.
You should focus on the bottom first so that you control just how much sustain you want the to have. I always tighten my bottom as tight as possible because I love how much sensitivity it gives the . That’s my personal preference, but it’s up to you to find out what your preference is.
After that, you can move on to the top . If you want a deep and low-pitched , you don’t need to do much from here.
Having the lugs slightly tighter than finger-tight will produce the that you’re looking for. This is the type of that you’ll commonly hear in modern Christian Contemporary music or in heavy rock.
You’ll get a sharper high-pitched as you tighten the lugs. Higher-pitched drums are great for styles like funk and hip-hop.
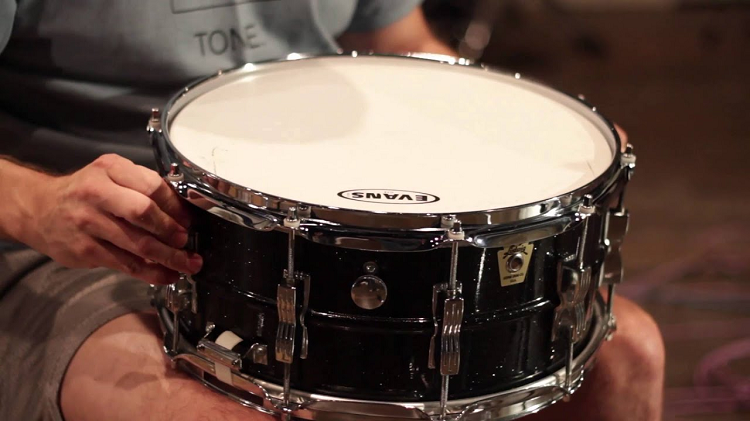
Tightening the
Every has a lever on the side called a throw-off. This is what controls the underneath the that are connected to the bottom . The throw-off has two main functions.
The first function is to turn the snares on and off. Pulling the lever away from the will loosen the mechanism so that the aren’t touching the bottom anymore.
The second function of the throw-off is to control how tight the are resting against the bottom . Adjusting the tension of the wires is another important part of the process.
If you tighten the throw-off as tight as possible, you’re going to get a very short . The will ring a bit more if you loosen the throw-off a bit. This is another aspect of that comes down to personal preference of how tight or loose you want the wires to be.
Controlling the Overtones
The final step in your is controlling the overtones that are coming out when you hit the top . Overtones are the harsh sounds that you can hear directly after you strike the .
All drums have them after , but there are a few things you can do to eliminate them for a more pleasant .
The biggest contributor to harsh overtones is having the lugs on the not evenly tightened. A good way to make sure that all the lugs are even is to take a key and lightly tap on the next to each lug.
If the is a bit higher by one lug, you need to tighten the lug next to it so that the pitches are the same. As you do this around the , the overtones will decrease a bit.
The next thing to do to eliminate overtones is to muffle the . This entails putting something on the to control the . Putting a piece of duct tape on the will make a massive difference in the .
However, duct tape isn’t the most attractive thing to put on your drums, so I recommend using Moongels Damper Pads. These gel rectangles are incredibly easy to put on your to control the overtones.
Product Recommendations
Since the requires you to listen very carefully, human error can often be the difference between a good-sounding and a fantastic-sounding . I highly encourage everyone to practice purely by ear so that you get accustomed to how the process works.
However, there are some other tools that you can use to help in the process to get a more accurate . This will result in an overall better .
Here are some of my favorite products to use when tuning a snare drum.
Gibraltar Comfort Curved High Torque Drum Key
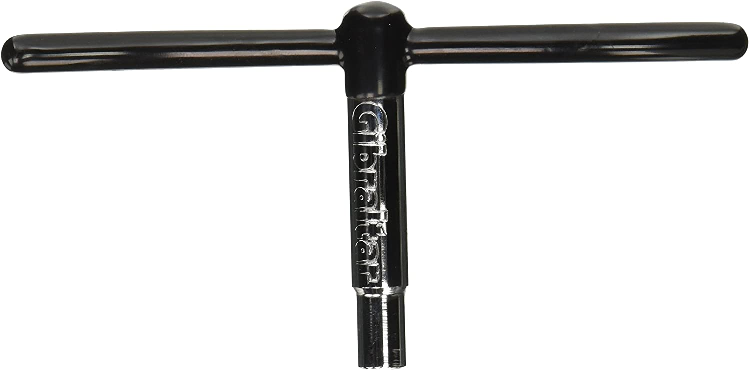
The High Torque Drum Key from Gibraltar is one of my favorite keys you can get. The handles are a lot bigger than the ones on standard drum keys, making it much easier to turn with minimal effort. I’ve found that you can get tighter tunings with this key thanks to the larger size.
Any drum key will do the trick when you’re tuning, but getting a drum key that you love will make the process a lot smoother.
Bigger drum keys are also less likely to go missing, further adding to the value of a high torque key!
Pros
- Larger handle is easier to use than standard small drum keys
- Won’t easily get lost
- Allows tighter tunings than standard drum keys
Cons
- More expensive than a standard drum key
Remo Ambassador Coated Snare Head
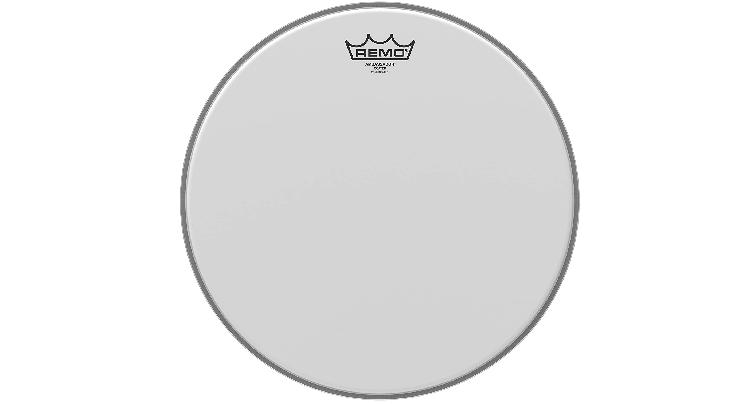
A Coated Remo Ambassador is the industry-standard snare drumhead. If you need to get a new drumhead when tuning your snare drum, this is the head I’d suggest getting. It has an excellent balanced tone that brings out all the best parts of your snare drum shell.
It’s a drumhead that has been used in thousands of studio albums. It’s versatile, easy to tune, and it feels great to play on. The only concern is that it might bring out some harsh overtones depending on the quality of your snare drum.
Since it’s a 1-ply drumhead, it doesn’t offer much dampening. So, you’ll need to do a bit of muffling once you’ve tuned your snare drum to get rid of any unwanted overtones.
Pros
- Industry-standard snare drumhead
- Affordable
- Easy to tune
Cons
- May bring out some harsh overtones that need to be muffled
Remo Controlled Sound Snare Head
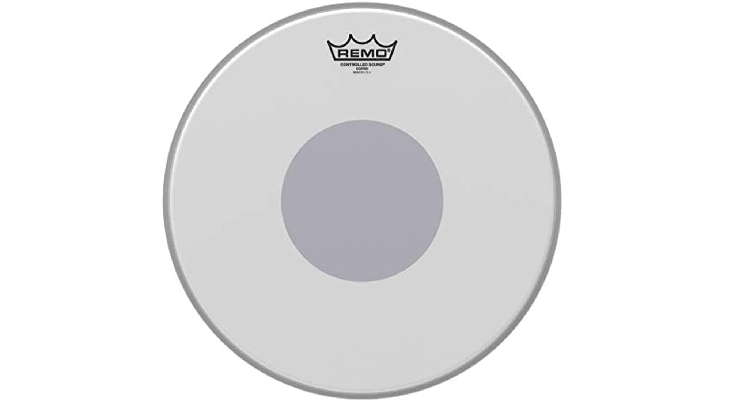
If you’re looking for something a bit thicker than the Ambassador, the Remo Controlled Sound is a good alternate snare head option. It has a 2-ply composition, meaning it’s a bit thicker and won’t require as much muffling to get a pleasant tone from the snare drum.
I’ve found that 2-ply drumheads also last a lot longer than single-ply ones. So, I’d suggest getting this one if you don’t want to replace your snare drumhead too often.
Pros
- Natural overtones are limited and controlled
- Center dot shows you where to strike the drum for consistent tone
- Very durable
Cons
- More expensive than a single-ply drumhead
-Bot Studio
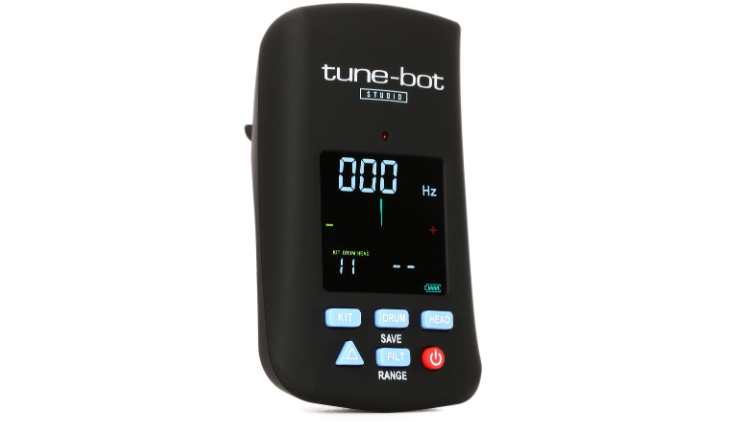
The -Bot is a digital tuner that you can attach to each lug of the to get measure the tension. This is a fantastic tool for making sure that all the lugs are tightened exactly the same to get a well-tuned .
It’s one of my favorite tools to use for gigs as it has a feature where you can save tunings. This allows you to get the same every single time when you your .
It’s small enough to fit in your pocket, so you can easily store it in one of the zip compartments in a stick bag. The -Bot is a digital device, so you’ll need to replace the batteries eventually.
Overall, it’s an amazing compact tool to help with the process. I highly recommend it to anyone who moves their around a lot.
Pros
- Makes tuning your snare drum a lot easier
- Very easy to use
- Incredibly useful when playing gigs
Cons
- Uses batteries that will constantly need to be replaced
Tama Tension Watch

The Tama Tension Watch is an analog tuner that gets placed on top of the instead of getting attached to the lugs. It has a small needle that measures the tension on the , allowing you to see how much you need to adjust each lug to get similar tensions.
I’ve found this tuner to be a bit more accurate than the digital tuner as it gives an exact reading every single time. However, it’s not as useful when it comes to gigging because it’s much heavier to move around.
Pros
- Provides an extremely accurate tension reading
- Doesn’t need batteries to work
- Easy to use
Cons
- Fairly bulky, making it unideal for gigging settings
FAQs
Answer: The more you play the snare drum, the more the lugs will start to loosen over time. So, how often you need to tune your snare depends on how frequently you play. Drum kits that don’t get played that often tend to stay in tune for a good while.
A good way of knowing when to tune the snare is to listen closely to the overtones that the snare is producing. If they sound a bit harsher than usual, it’s time to tune.
I typically tune my snare drum at least once a month if it’s just sitting in my practice room. I’ll make sure to tune it before every gig as I want the snare to sound as good as it possibly can when I’m performing.
Answer: You don’t need a new drumhead every time you tune your snare drum. Drumheads typically last quite a while before needing to be replaced. If you got a new head with every tune, it would become an incredibly expensive affair.
So, you only need to get a new snare drumhead if your current one is showing major signs of wear and tear. I’ve also found that higher-quality heads are like a secret weapon for making cheap snare drums sound amazing.
Answer: Some drummers like to get very technical when they’re tuning their drums. You’ll find players tuning the toms to different intervals to achieve the perfect balance when playing drum fills. While that’s a scientific way to look at it, I wouldn’t suggest going that route if you’re new to tuning your drums.
Instead, you should just tune your snare in a way that sounds good to you. It doesn’t matter if it’s not tuned to a particular frequency. What matters is that you love the sound that comes out every time you hit it.
Summary
The more you your , the better you’ll get at it. It’s a skill that needs to be developed and practiced, just like anything else.
Here’s a quick summary of the whole process from start to finish:
- Purchase a new if your current one is worn out
- Make sure to have a key
- Remove the by loosening the lugs around the hoops
- Clean the inside of the with a cloth
- Put the -on and finger tighten all the lugs
- Do the same for the bottom
- Use the key to tighten both sides to achieve the you want
- Make sure all the tensions are even
- Tighten the to a desirable tension
- Eliminate the overtones by the top on the
Once you’ve learned how to the , you can take the same process and apply it to the rest of the drums on your kit. The other drums will be easier to as you don’t need to worry about . Good luck!
If you’re looking to get a new to go along with your new skills, check out this article on some of the best ones on the market.